DataHelp EML Converter: Know How it Works!

Follow step-by-step guide for DataHelp EML Converter.
You can safely convert Bulk EML / EMLX Mails to PST, MBOX, HTML, PDF, MSG, NSF file format.

STEP 1

Start » All Programs » DataHelp EML Converter, First screen of the software will appear like this.

eml-to-pst-converter
STEP 2

Explore the folders from the left pane of the software window and navigate to the location where your EML files are saved.

explore-eml-folder
STEP 3

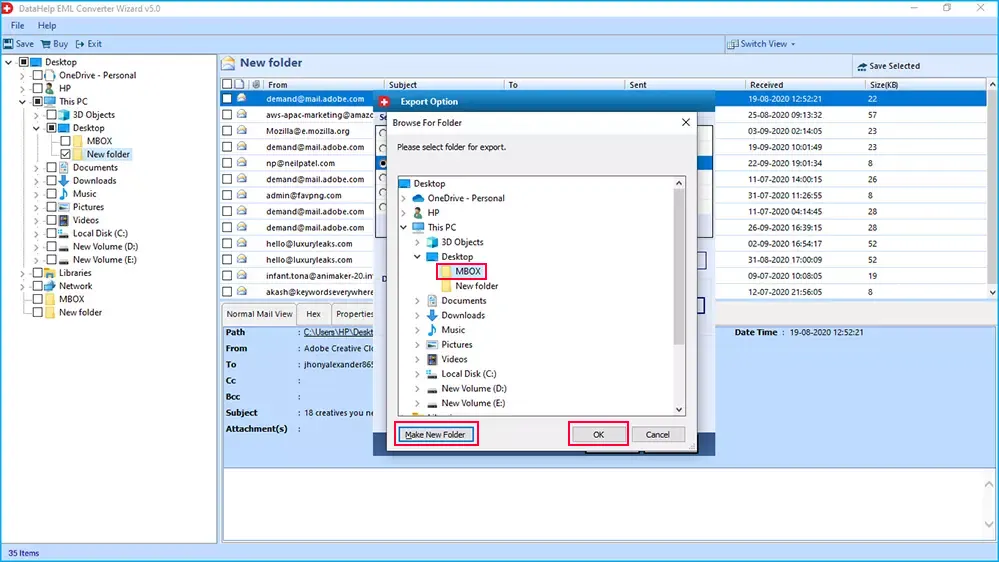
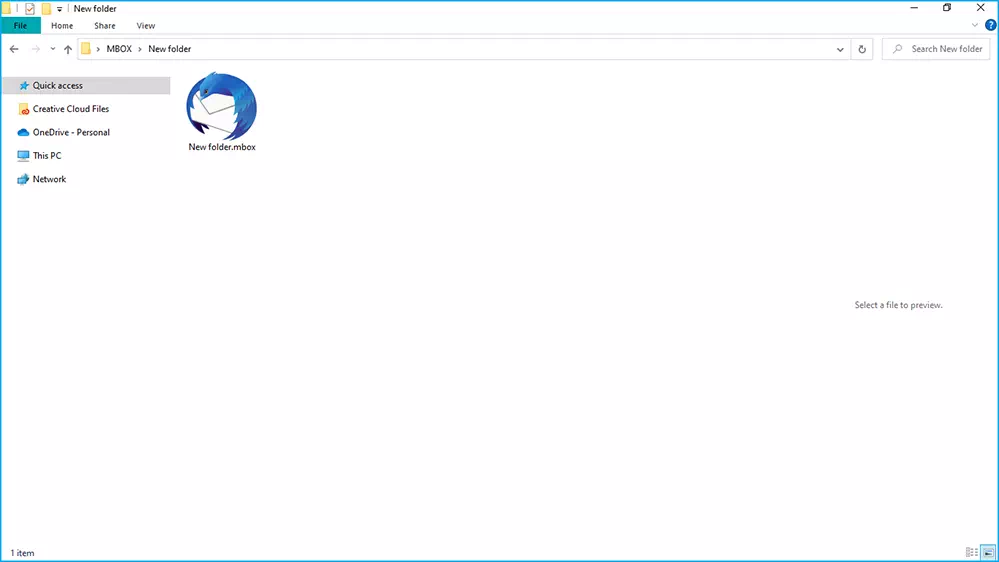
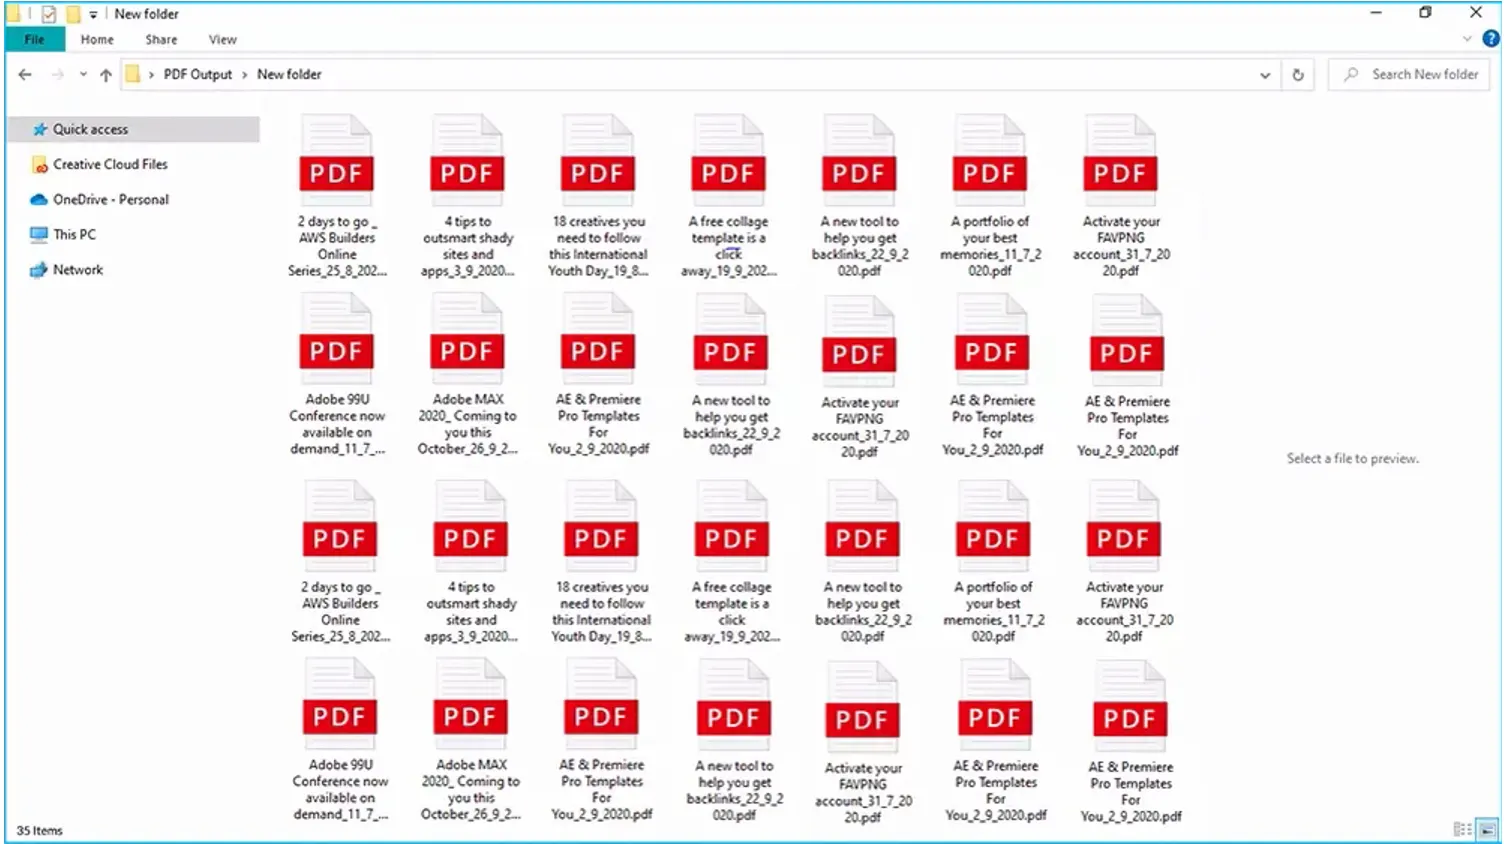
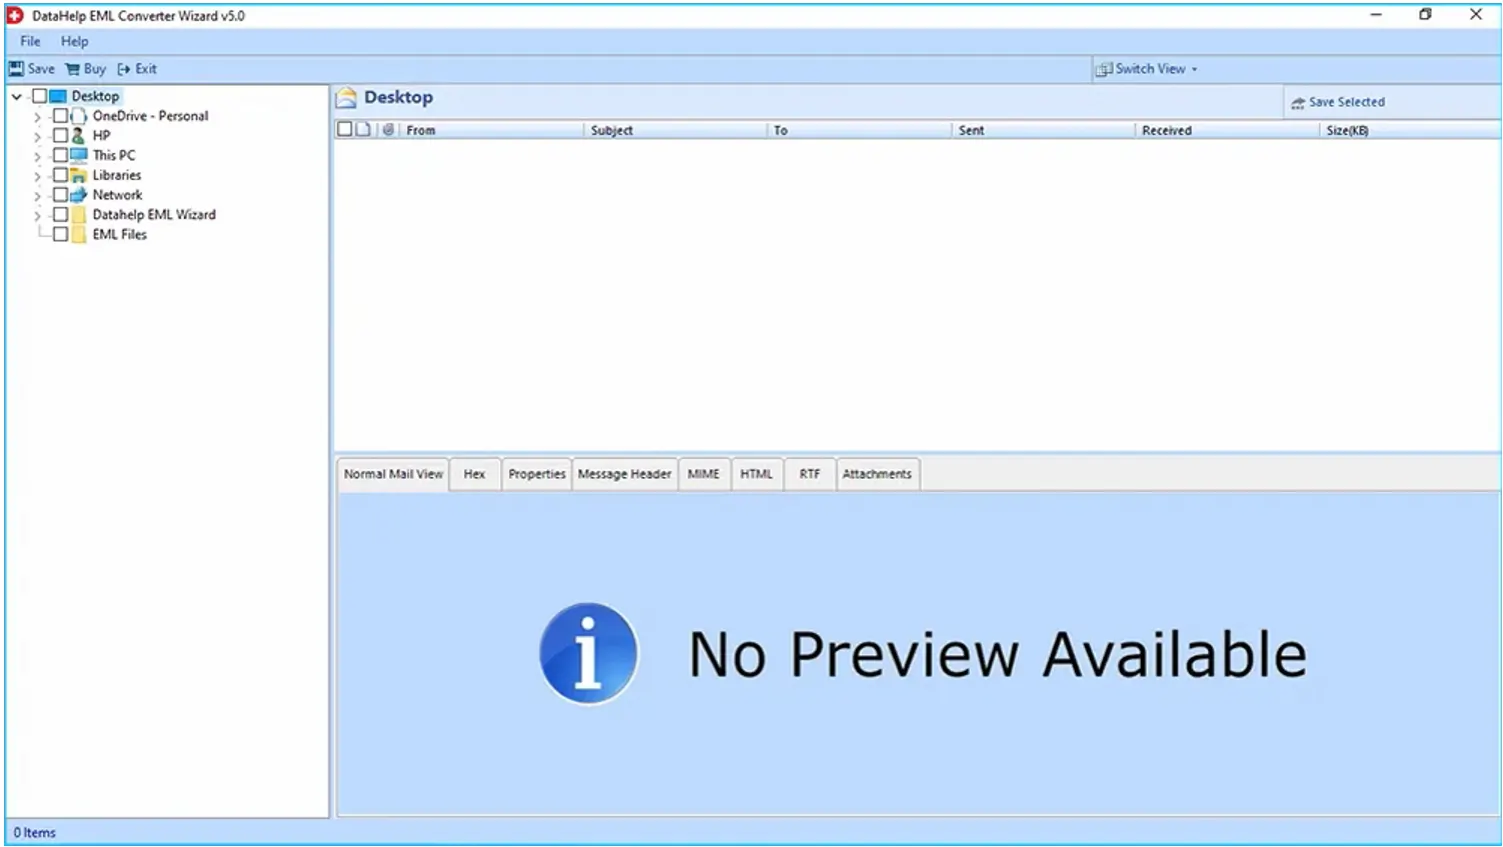
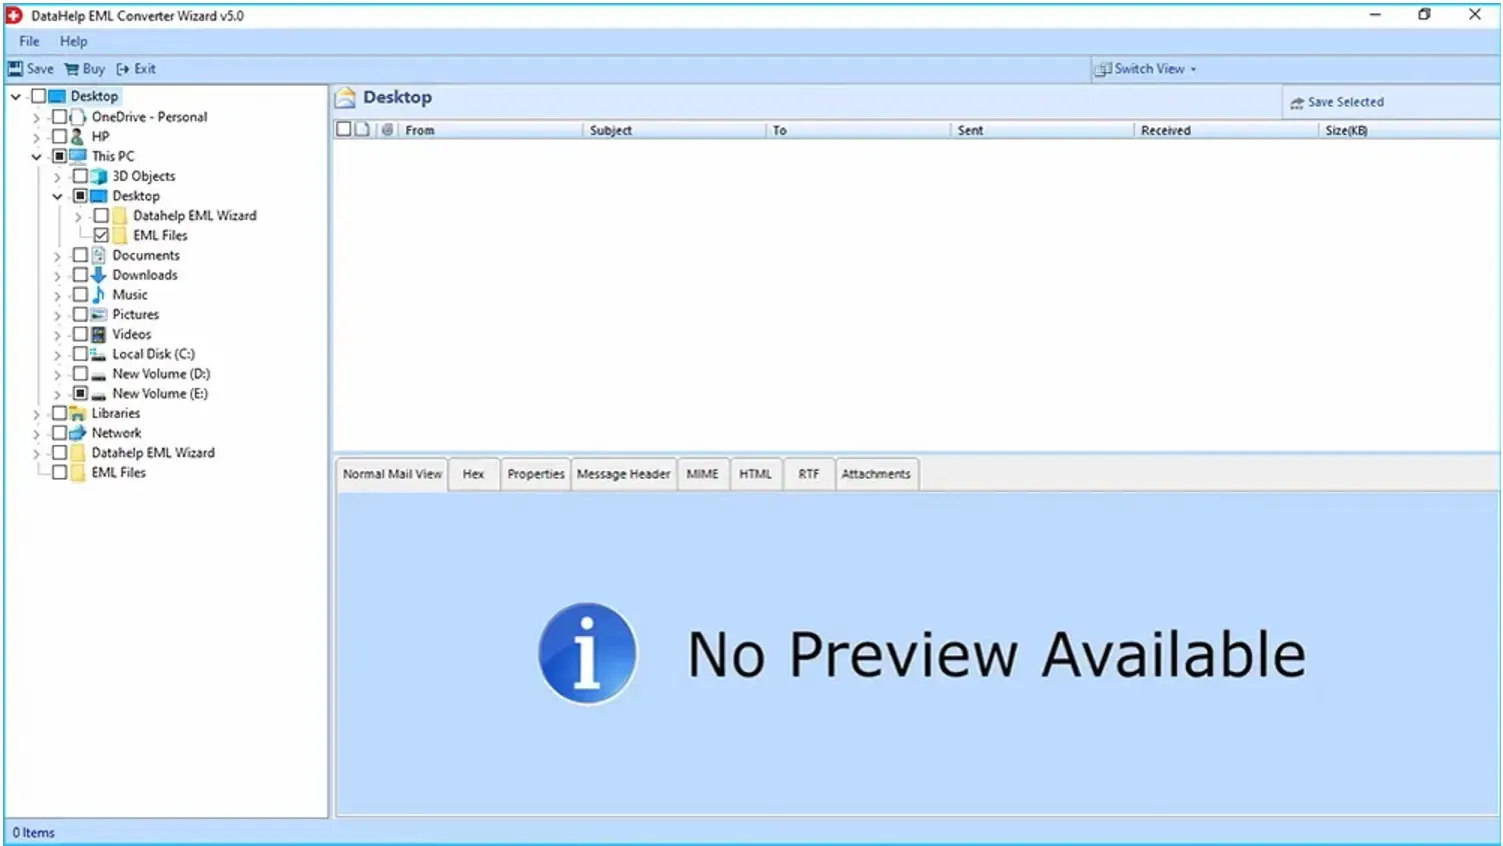
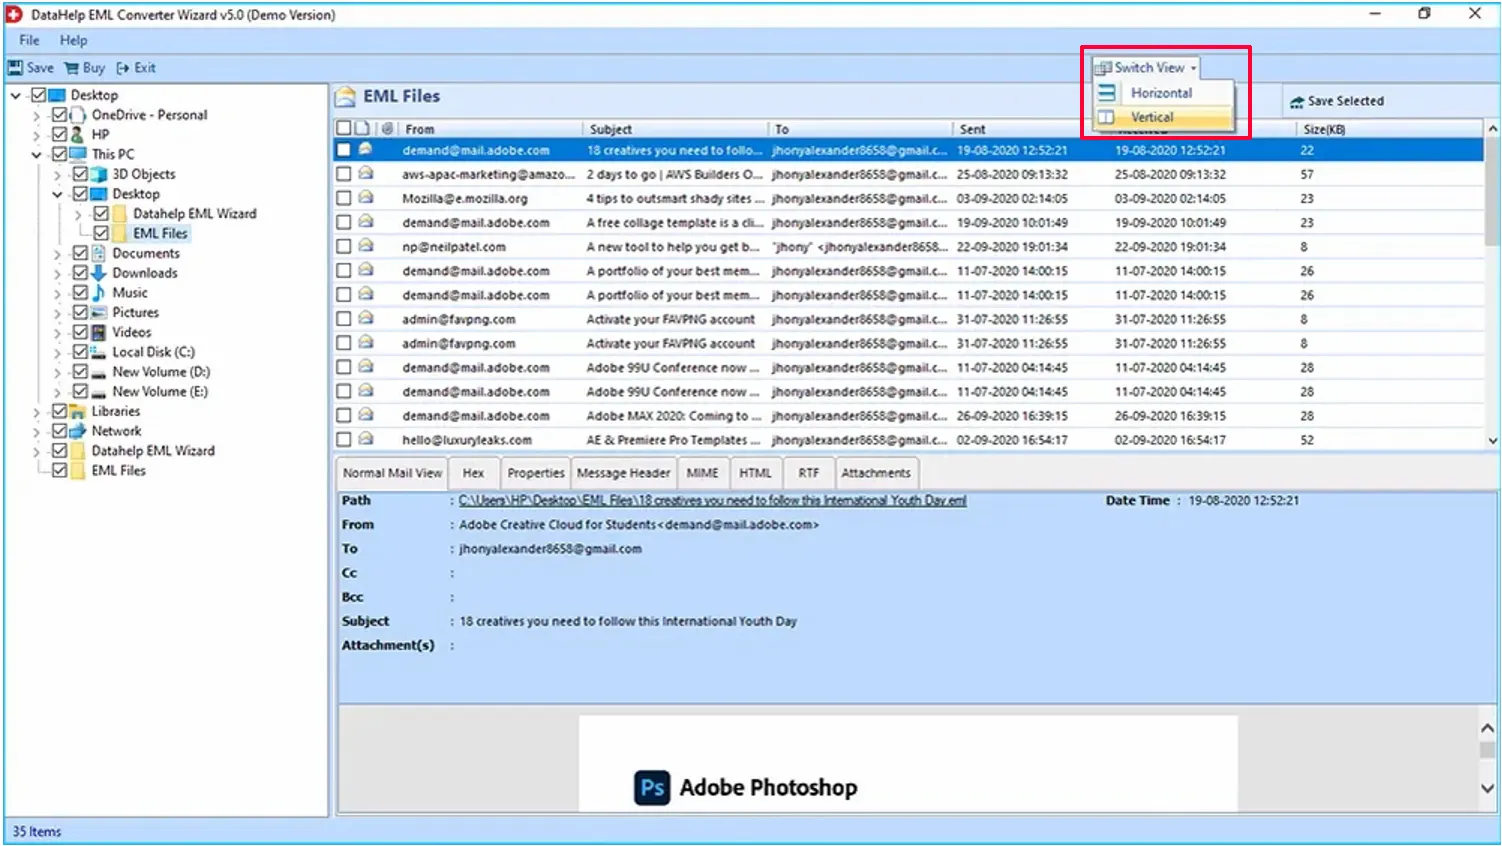
Select the folder which contains the EML and EMLX files. Once you select the folder, the emails will be visible in the right panel of software.

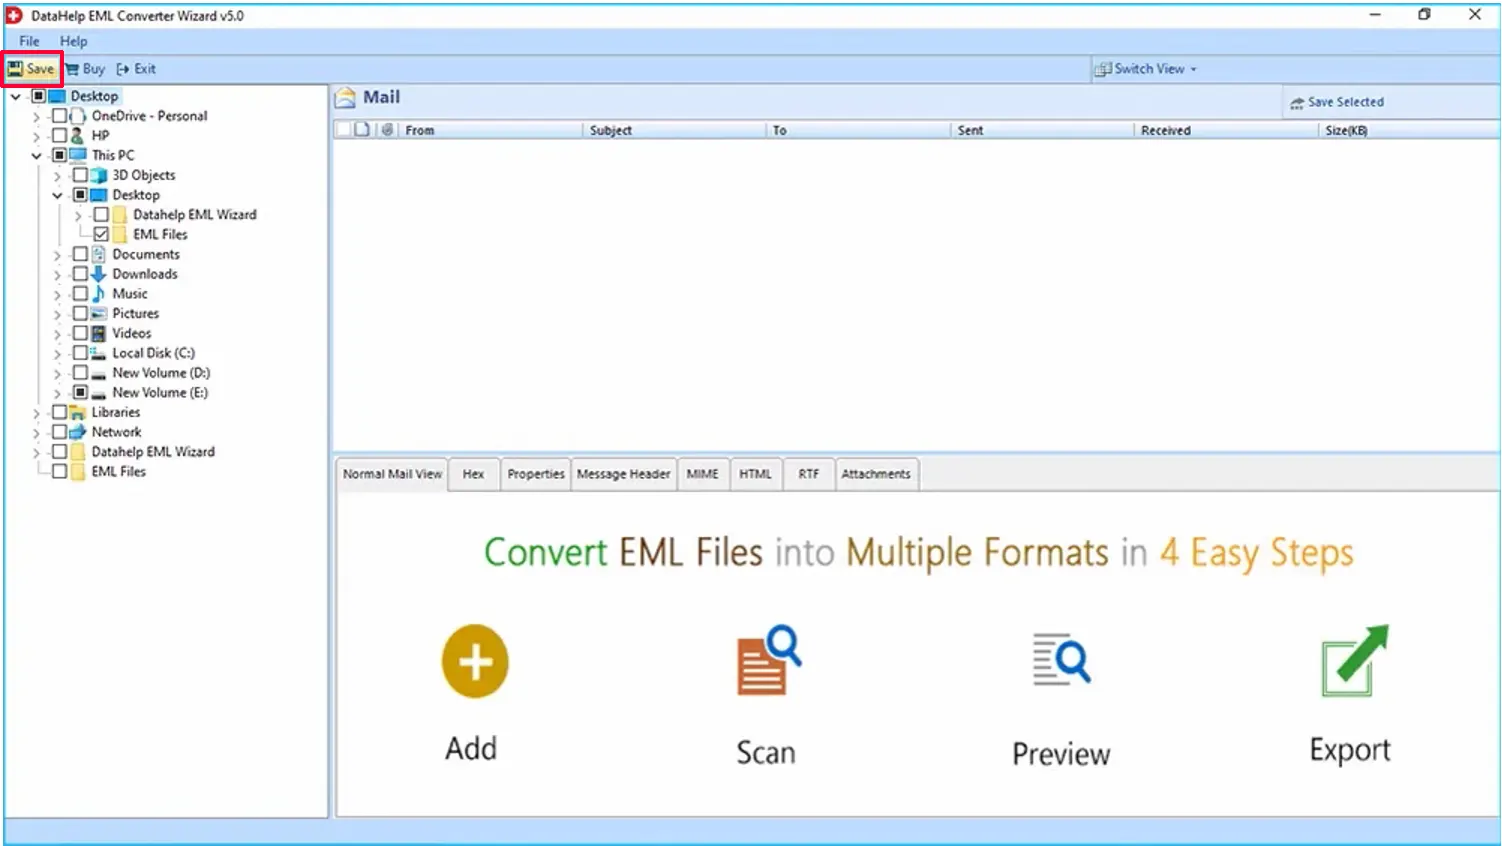
For Fast Conversion: Don't click on Folder (that contains EML files), just check the checkbox beside that and move to step 15. You need to tick the chekbox of the folder containing EML files to quickly add all the files.

normal-view
STEP 4

Normal Mail View: Select a particular Email to get a Normal Mail View of the e-mail data at the bottom pane.

attachment-view
STEP 5

Hex: Display data in hexadecimal format

switch-view
STEP 6

Properties: Properties displays the additional information and other details of a selected emails.

export-selected-mail
STEP 7

Message Header: Display Message Header file information of selected email.

export-selected-folder
STEP 8

MIME: Display information in Internet standard that extends the format of an email.

export-option
STEP 9

HTML: Preview selected email in HTML file format

export-mail
STEP 10

RTF: Preview selected email in RTF file format

exporting-process
STEP 11

Attachments: Preview Attachments present inside a particular email by clicking on the Attachments tab. It displays the list of attachments along with details present in the same & upon selection, the attachment is previewed on the bottom right corner.

save-export-report
STEP 12

Switch View: you can easily switch view option Horizontal and Vertical. This feature is only for representation.

location-of-saved-csv-report
STEP 13

Verical View: View complete data in vertical view.

location-of-saved-csv-report
STEP 14

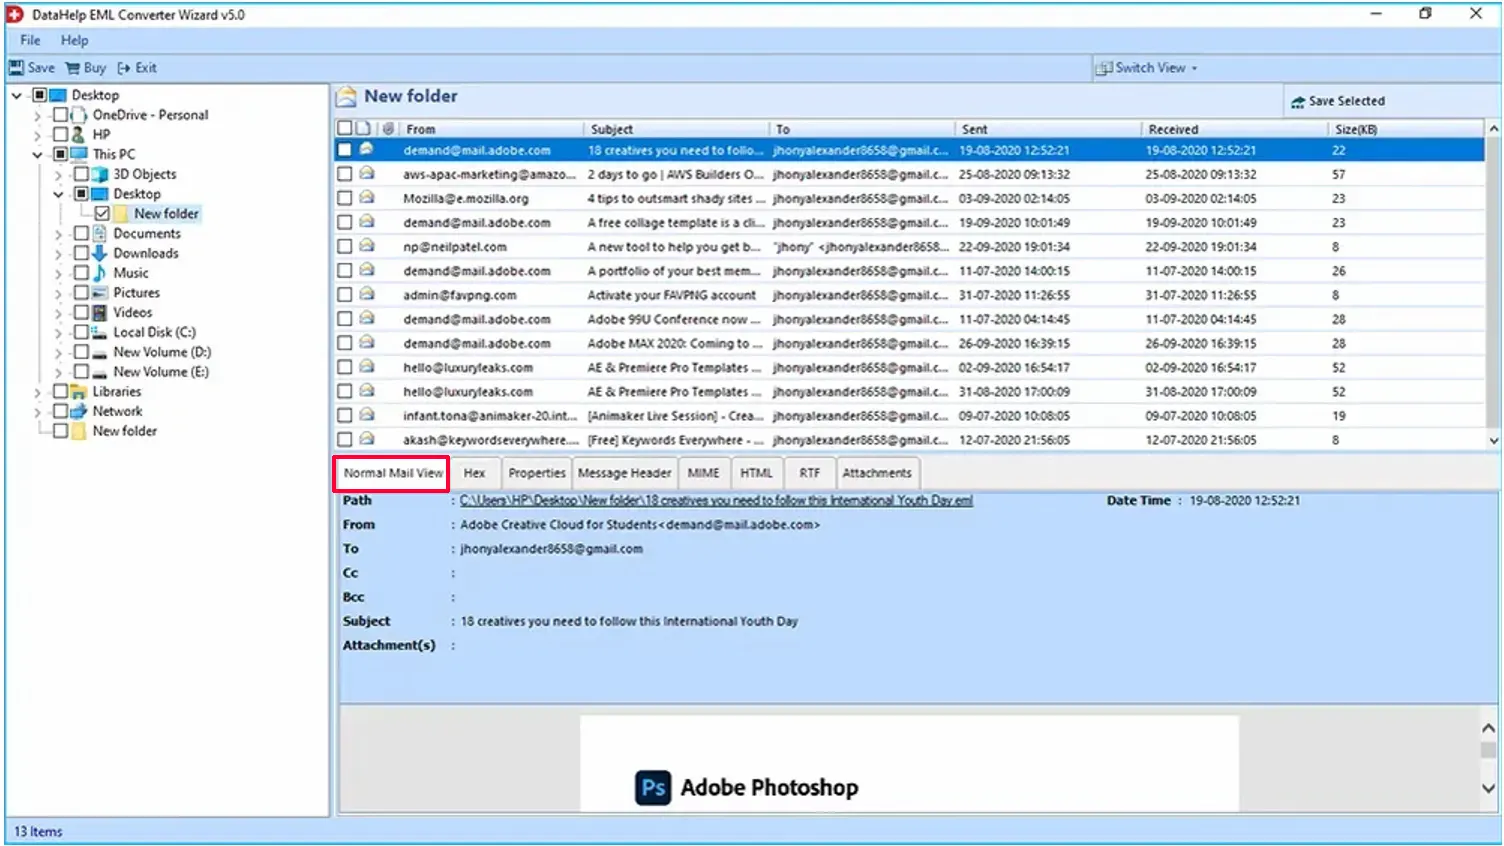
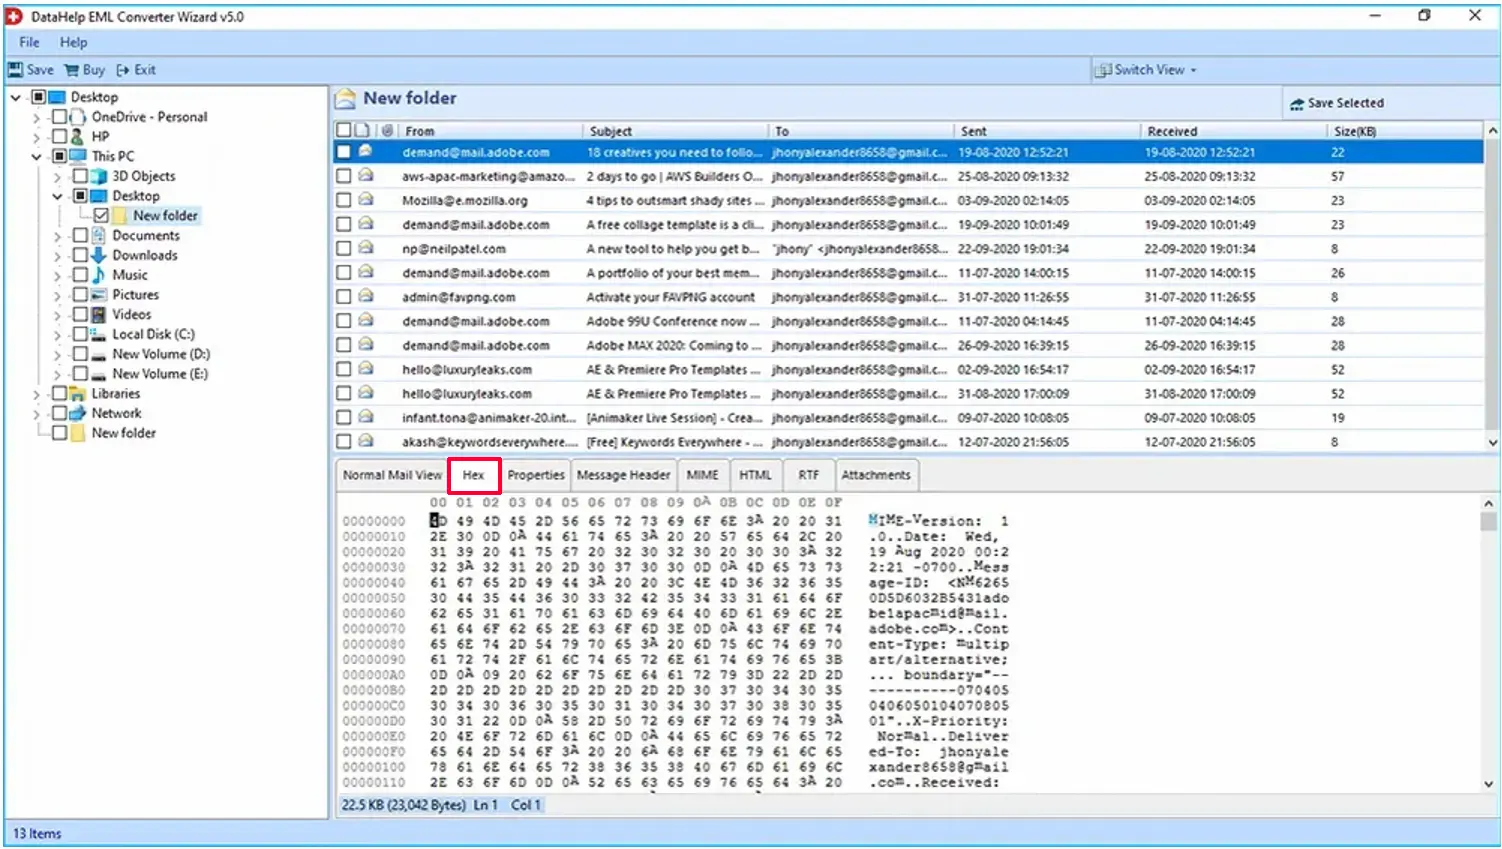
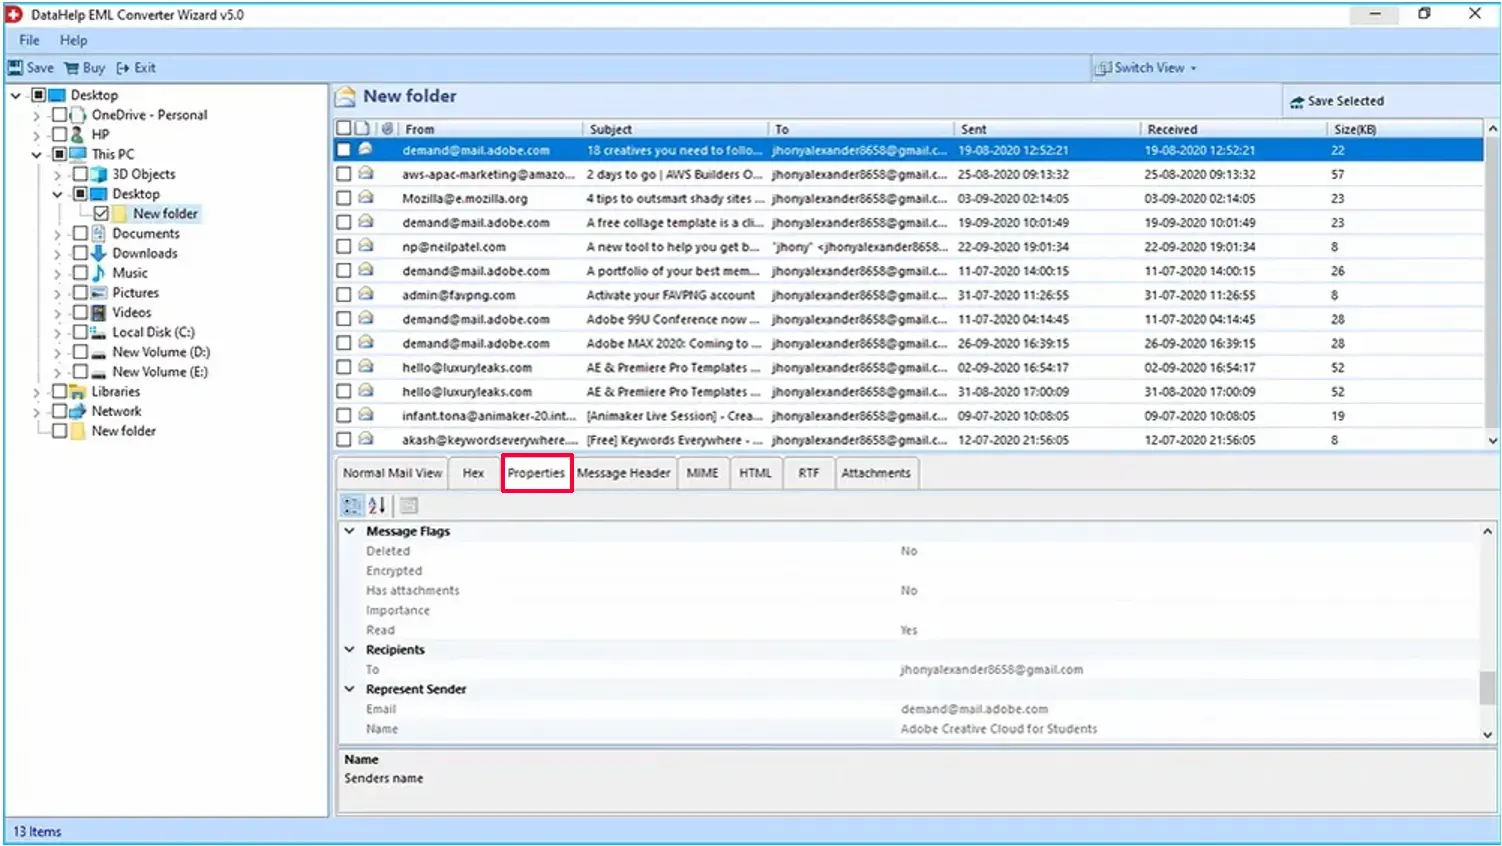
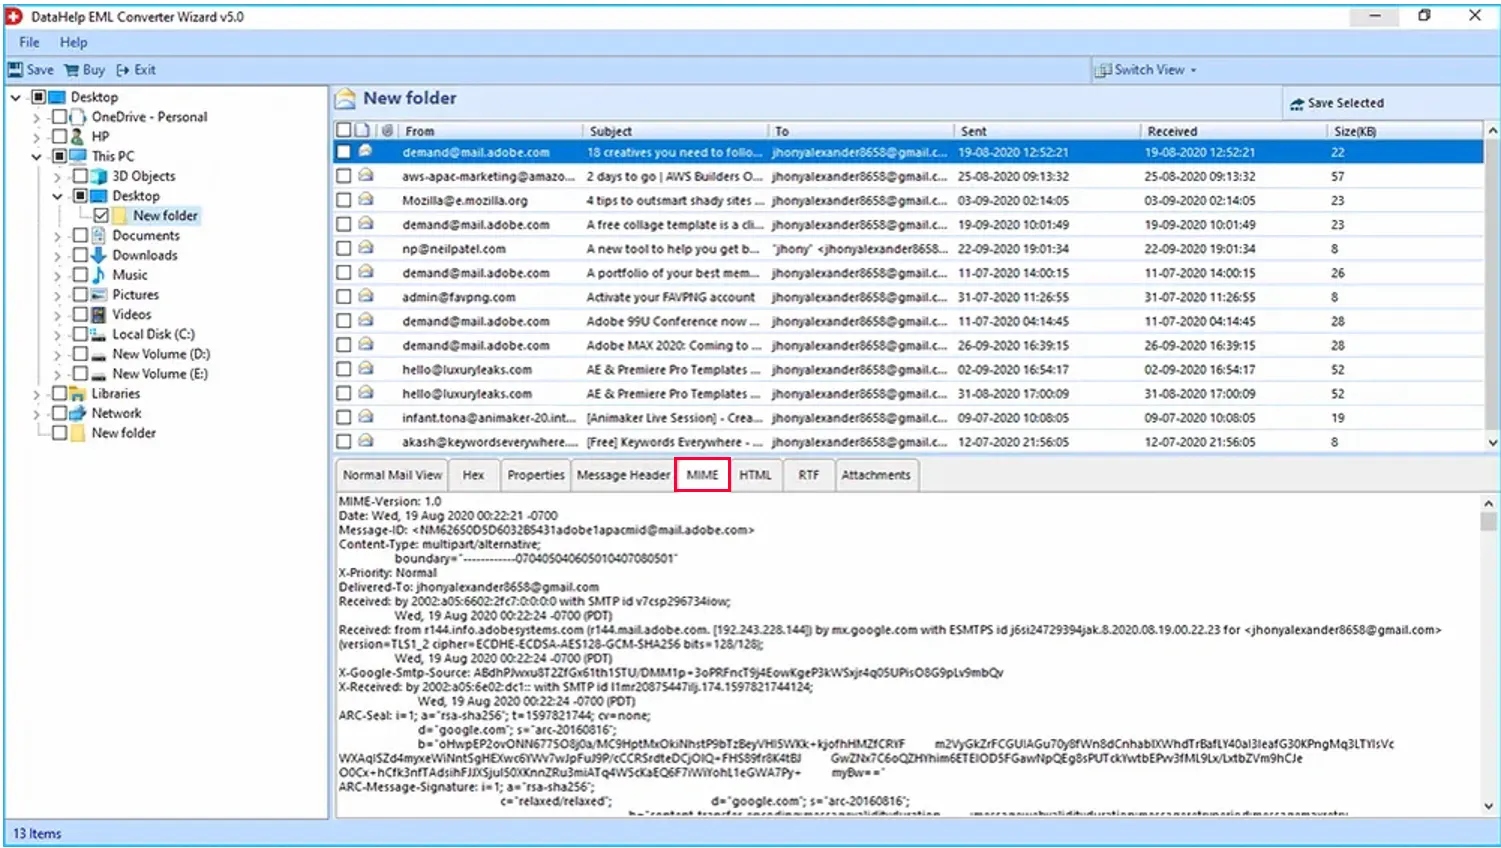
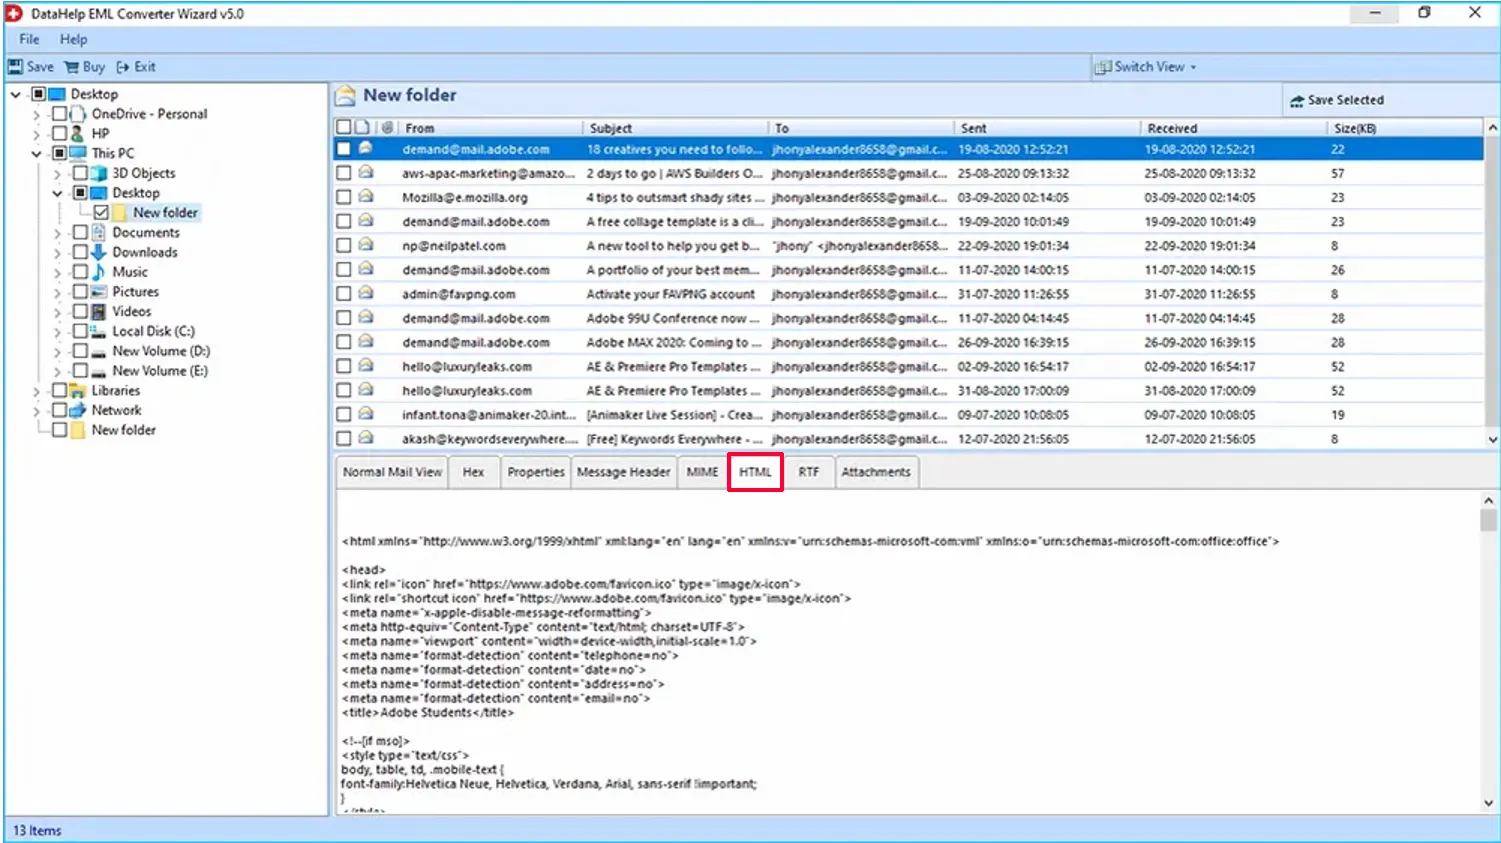
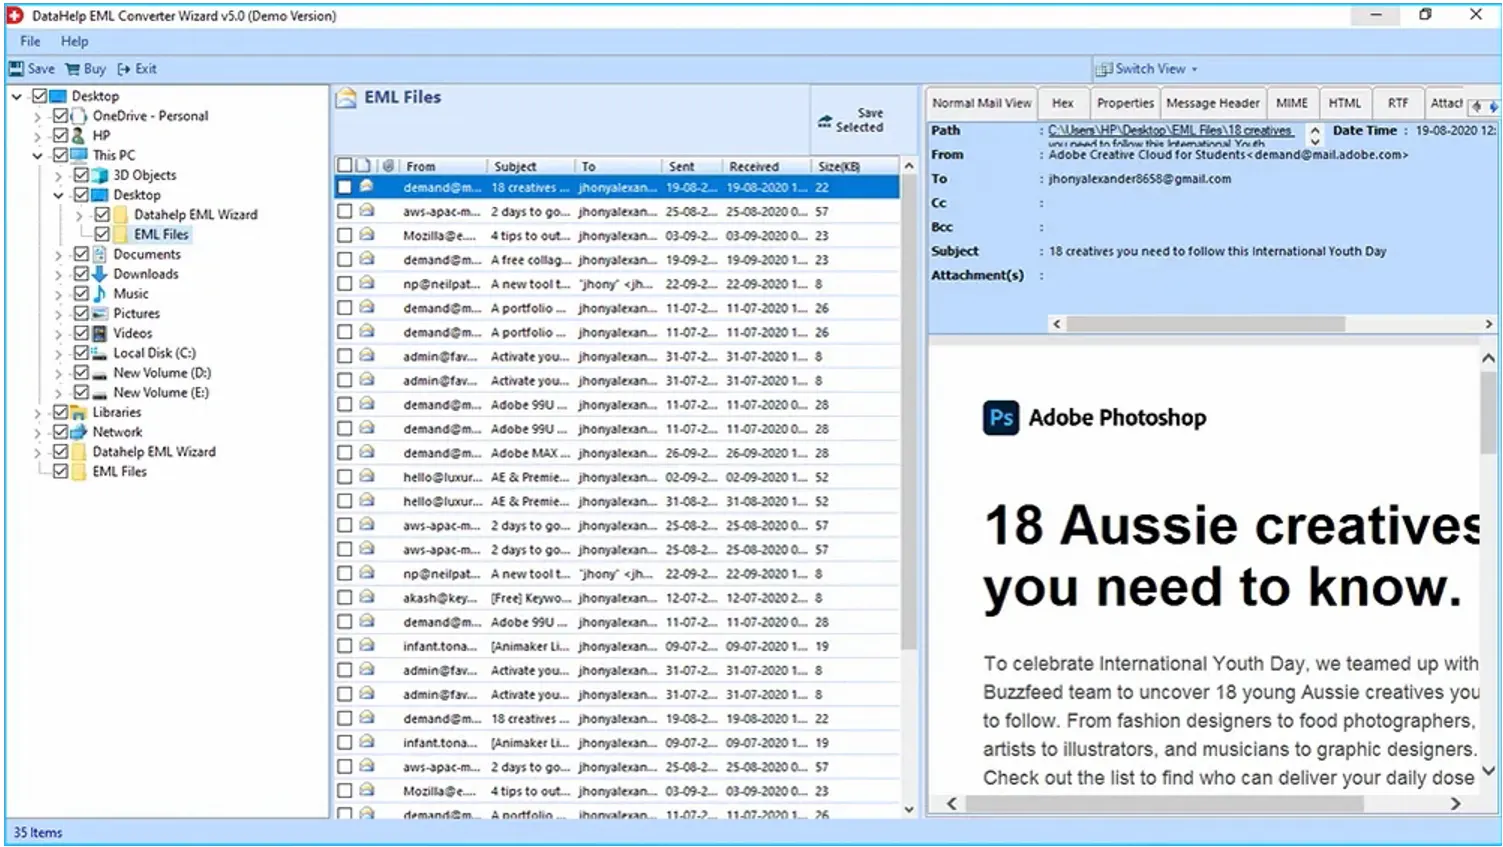
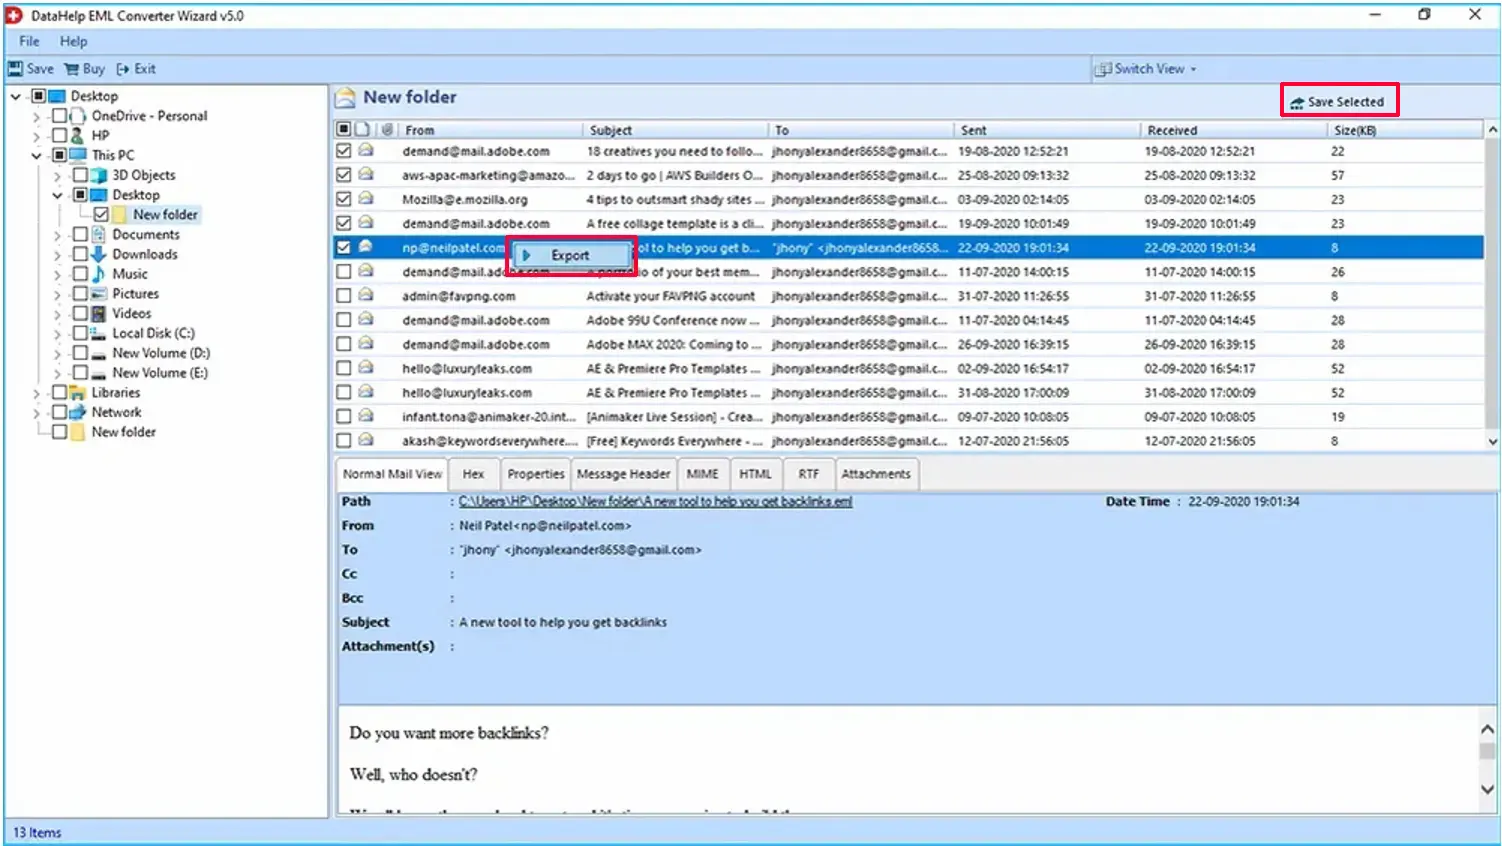
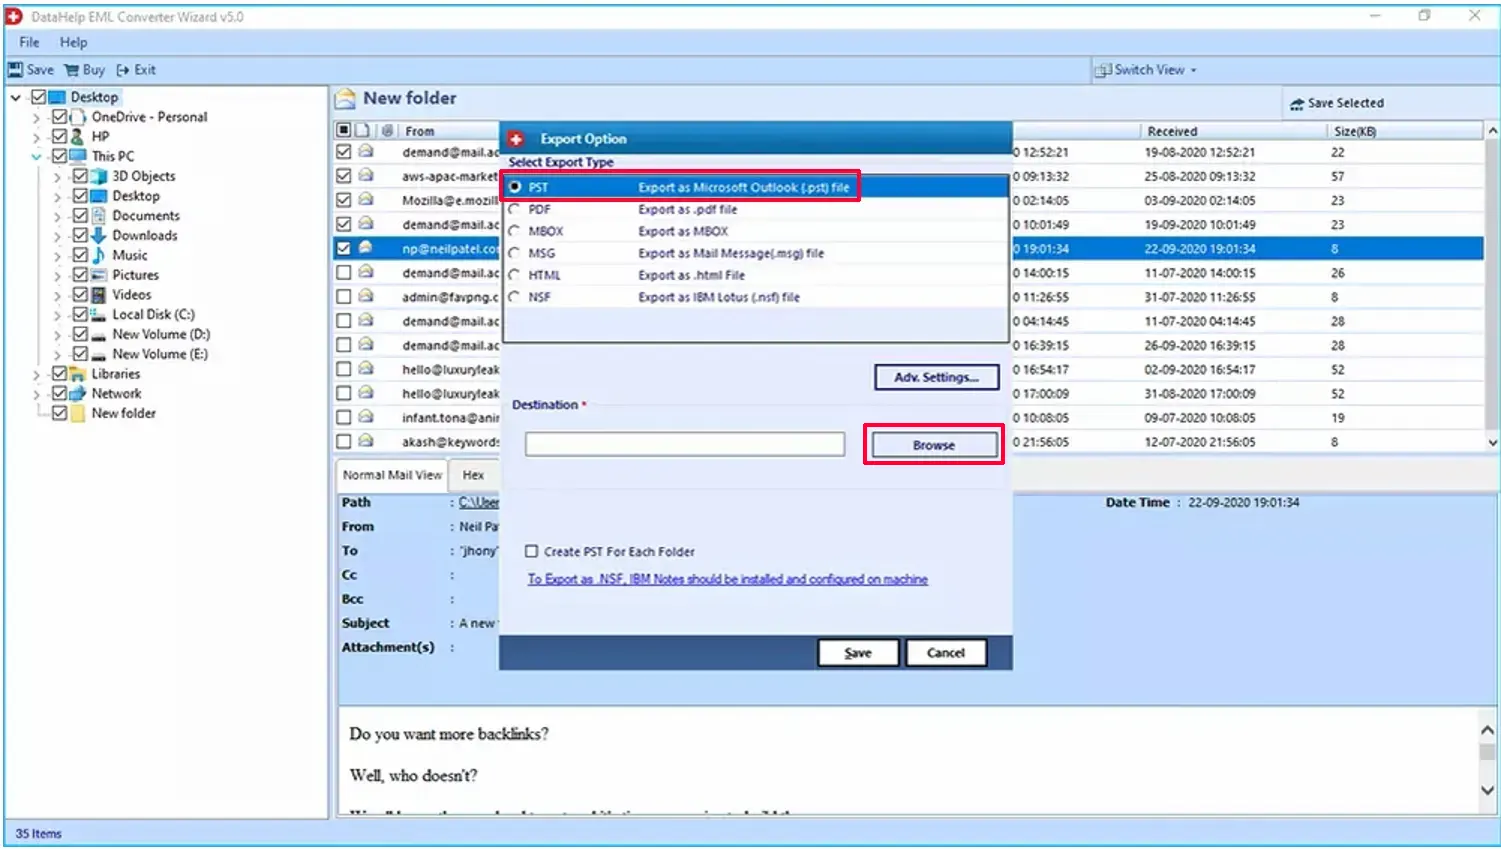
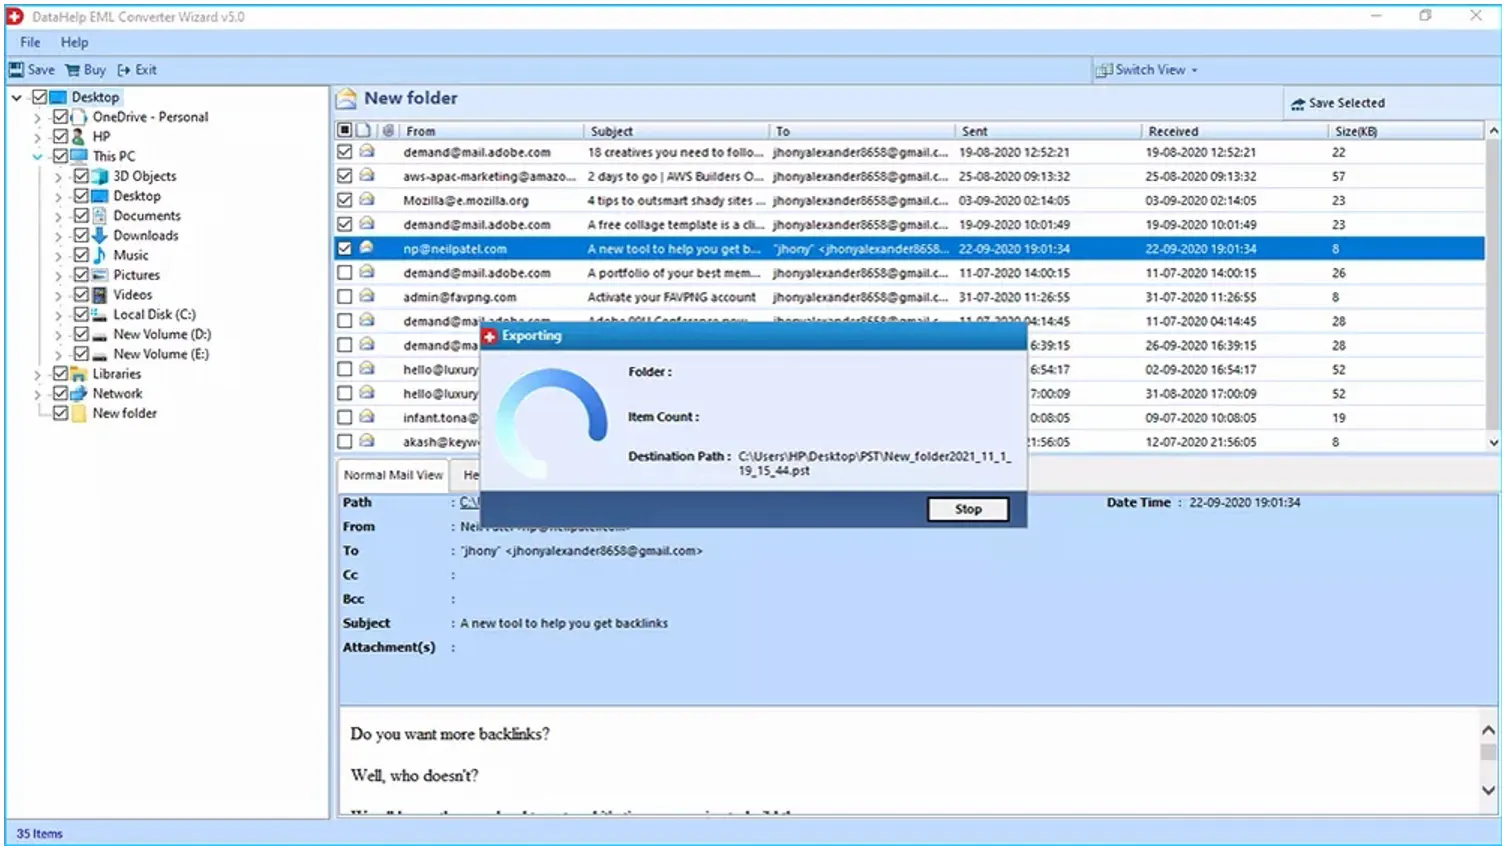
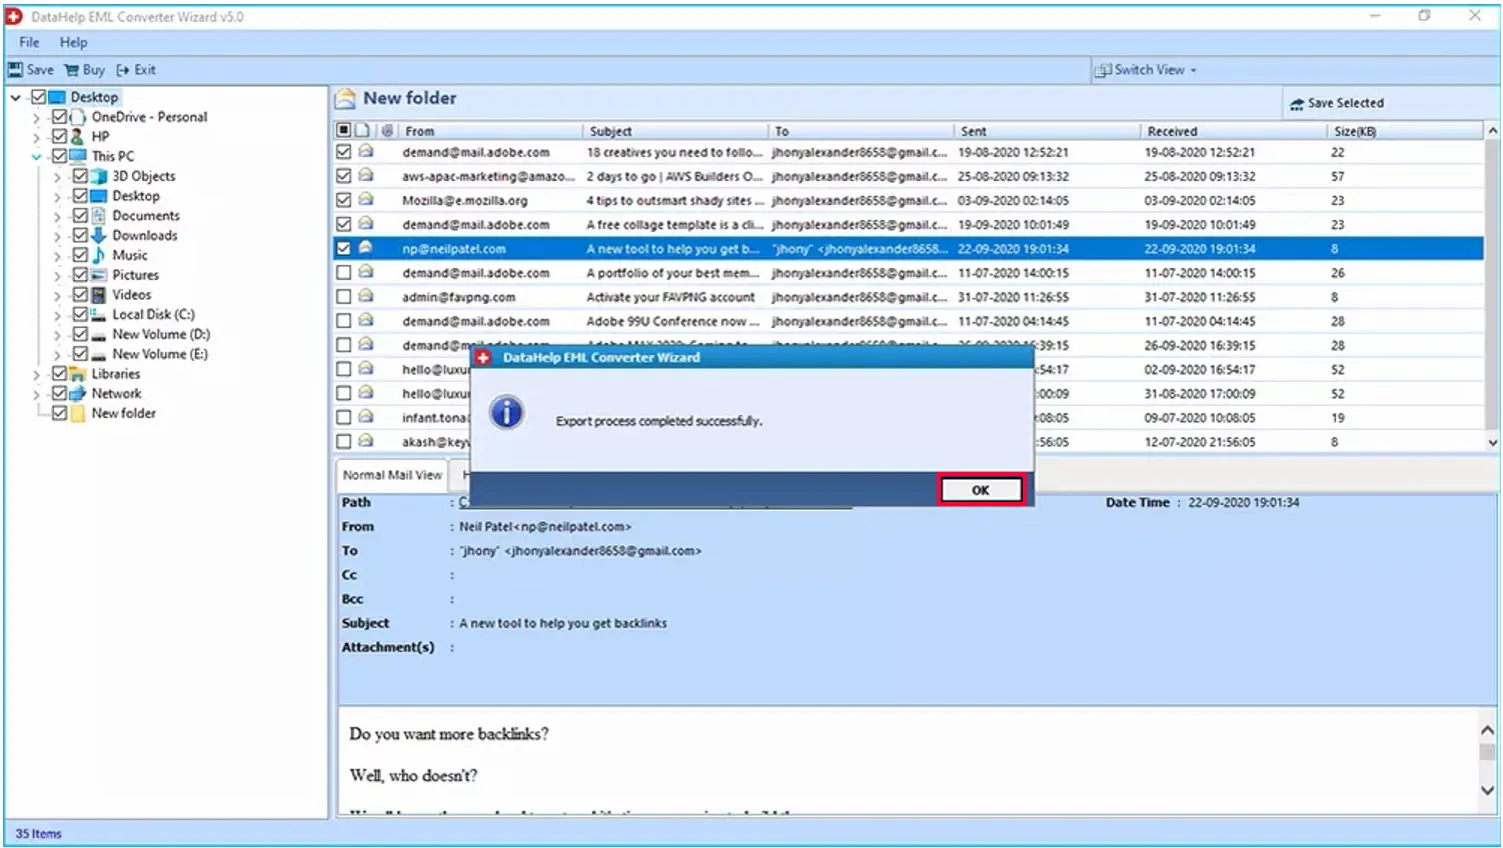
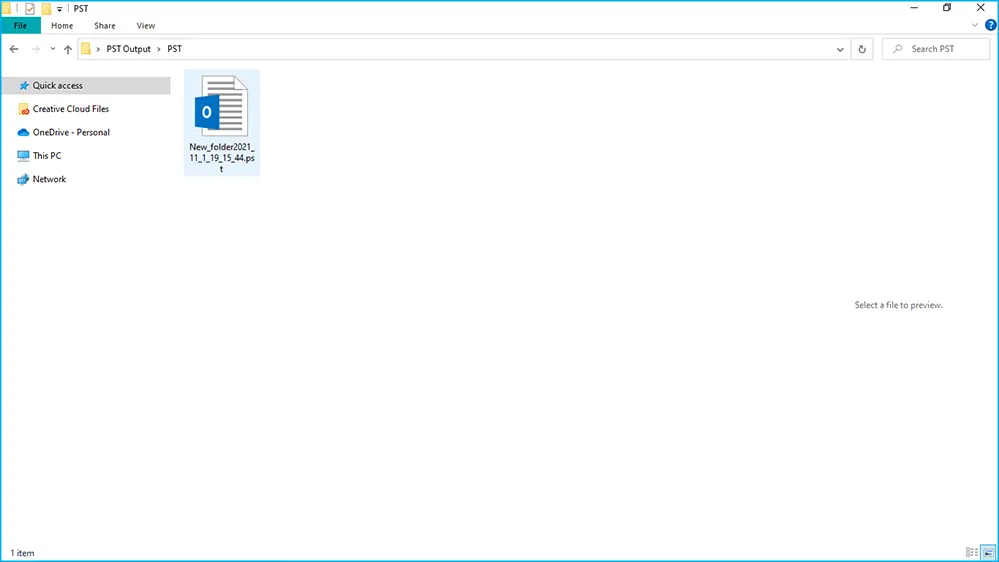
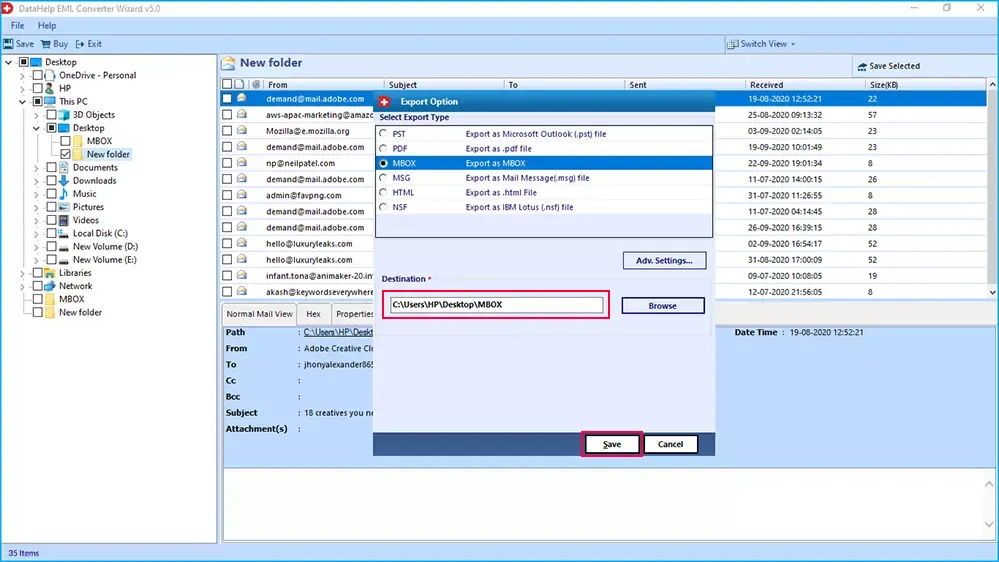
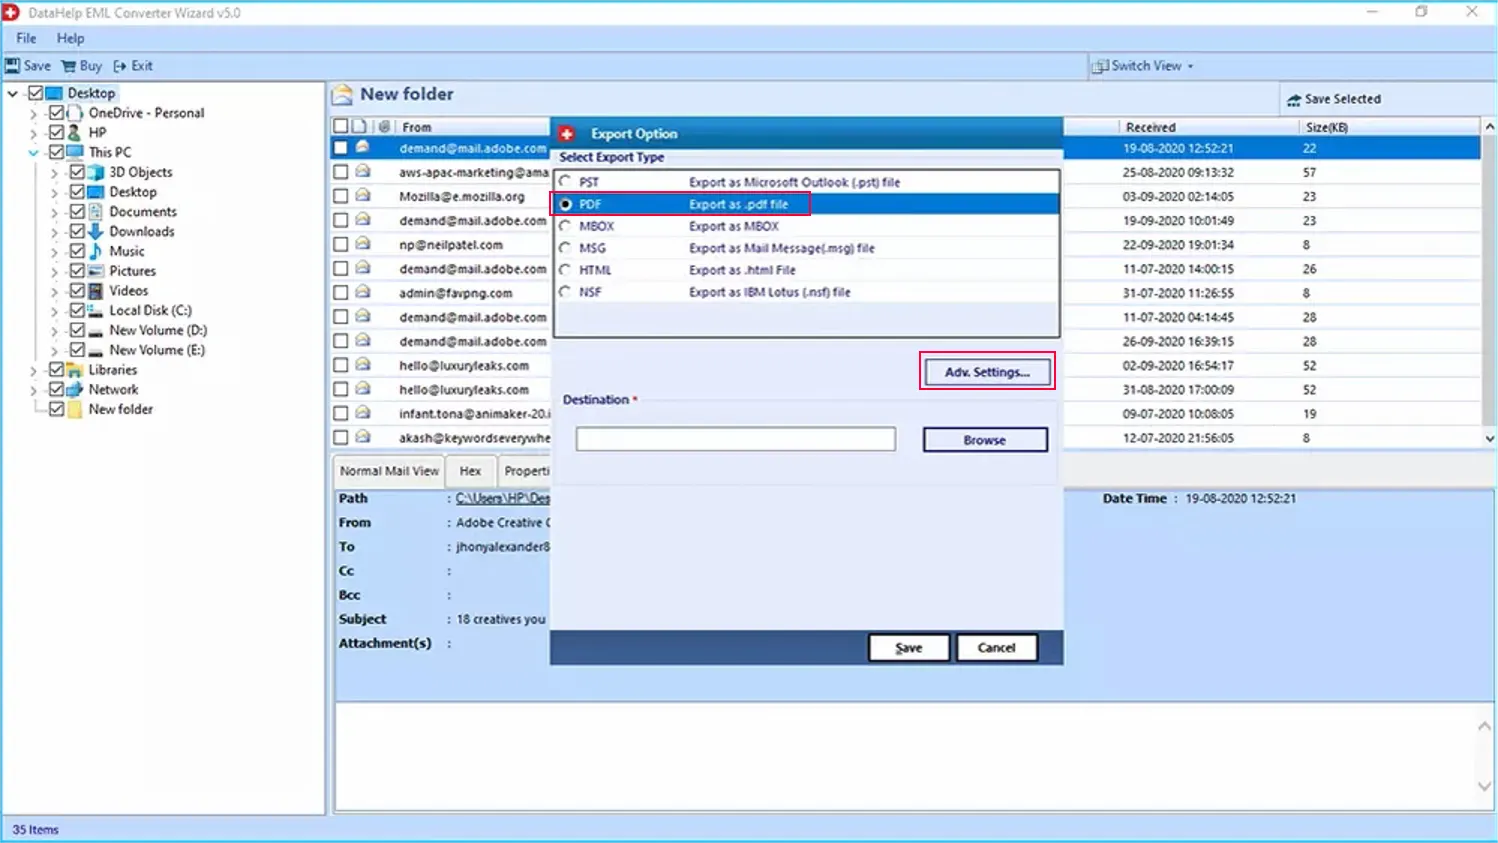
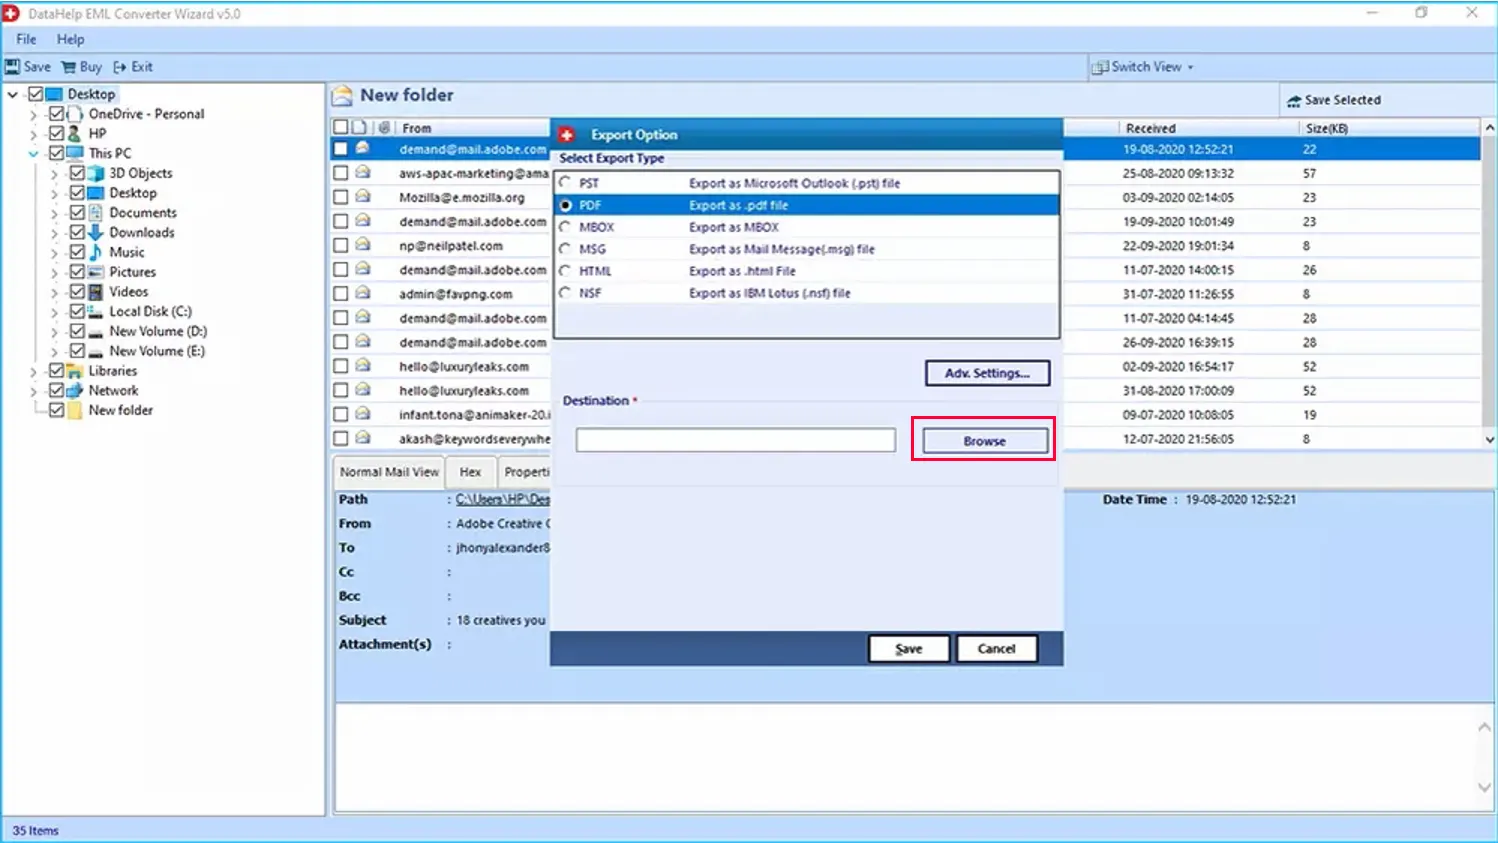
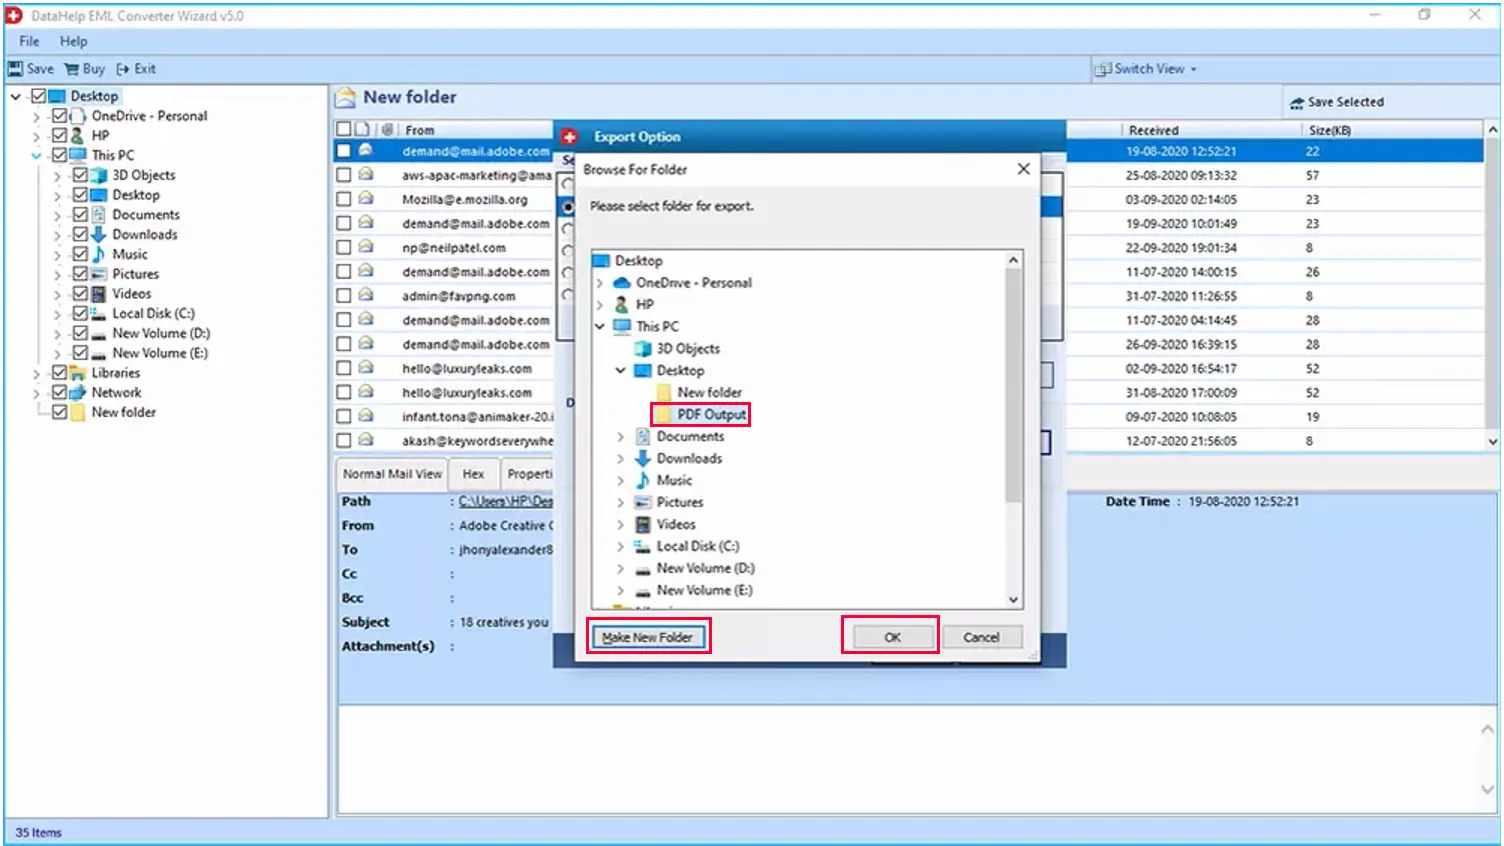
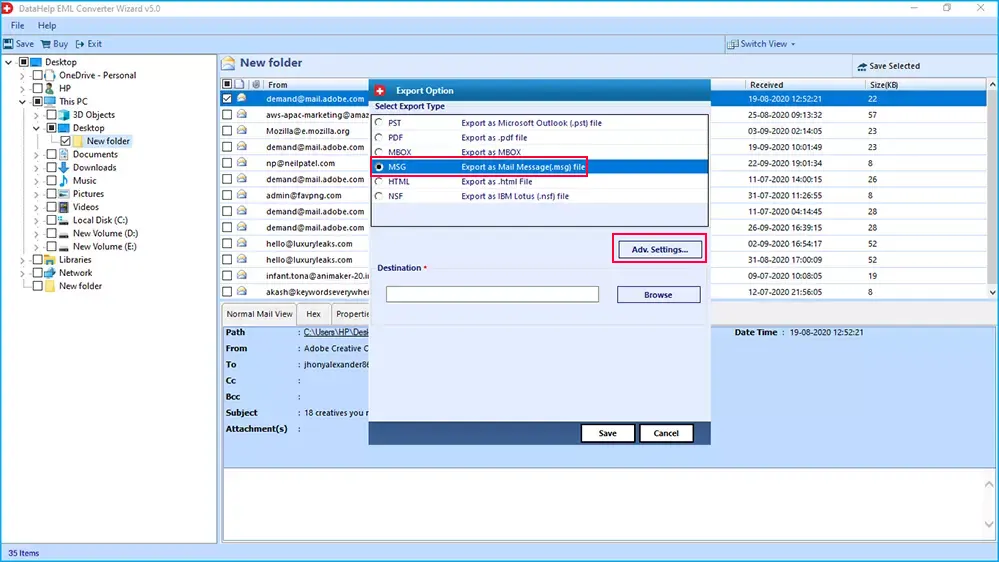
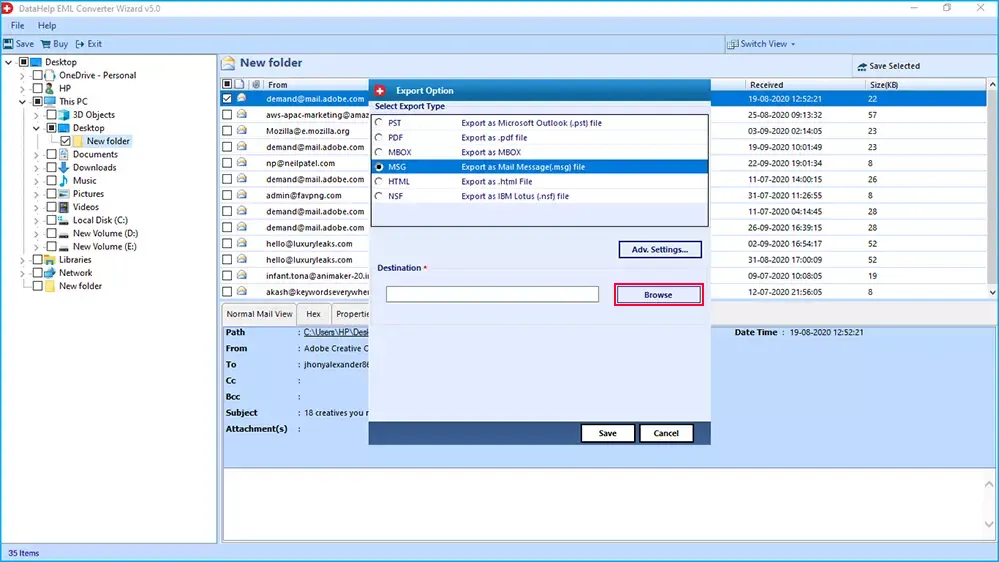
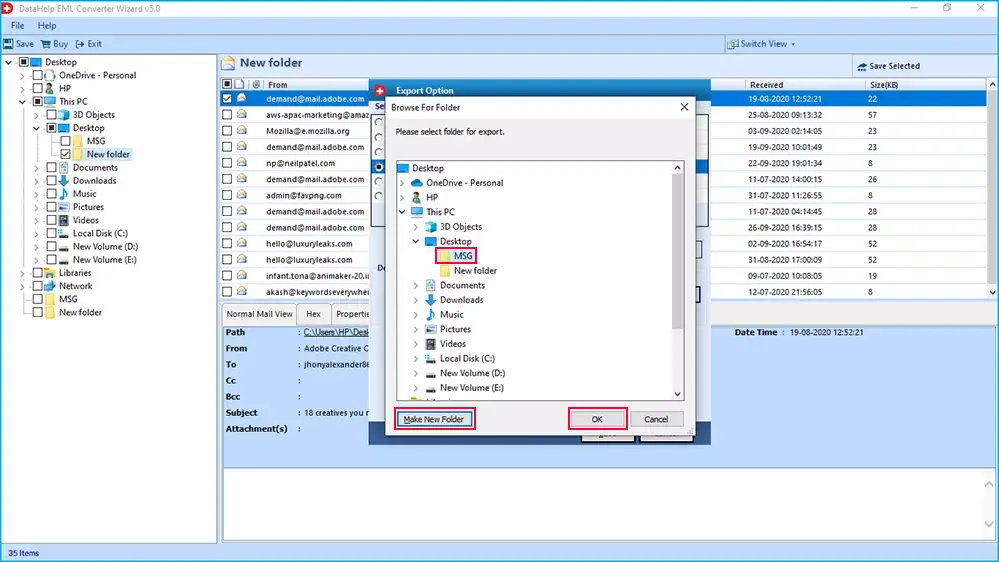
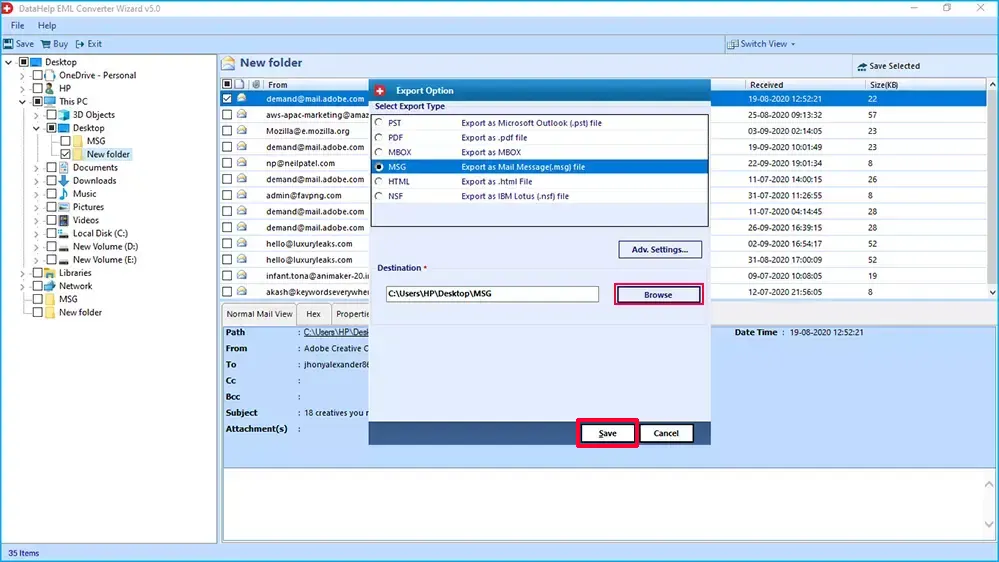
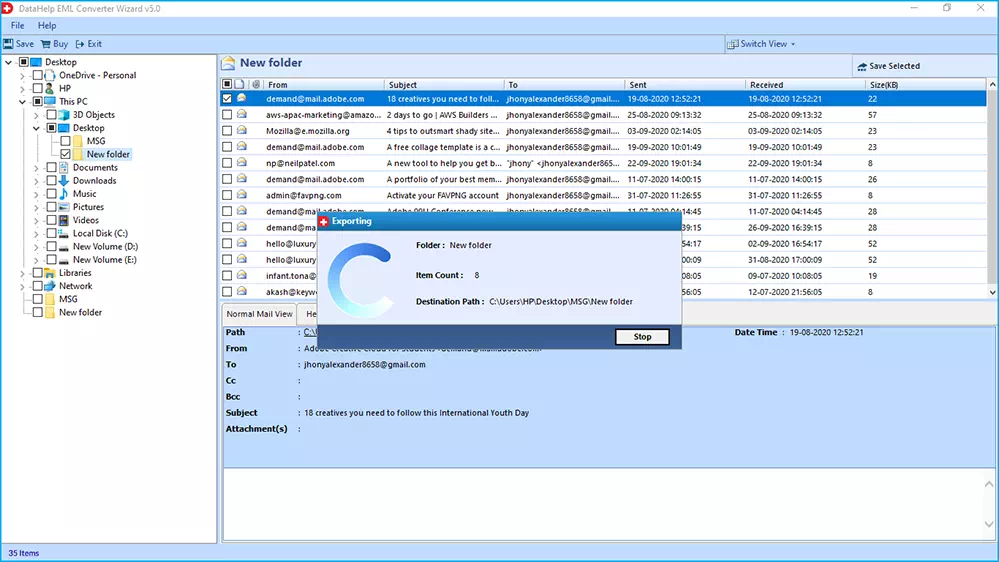
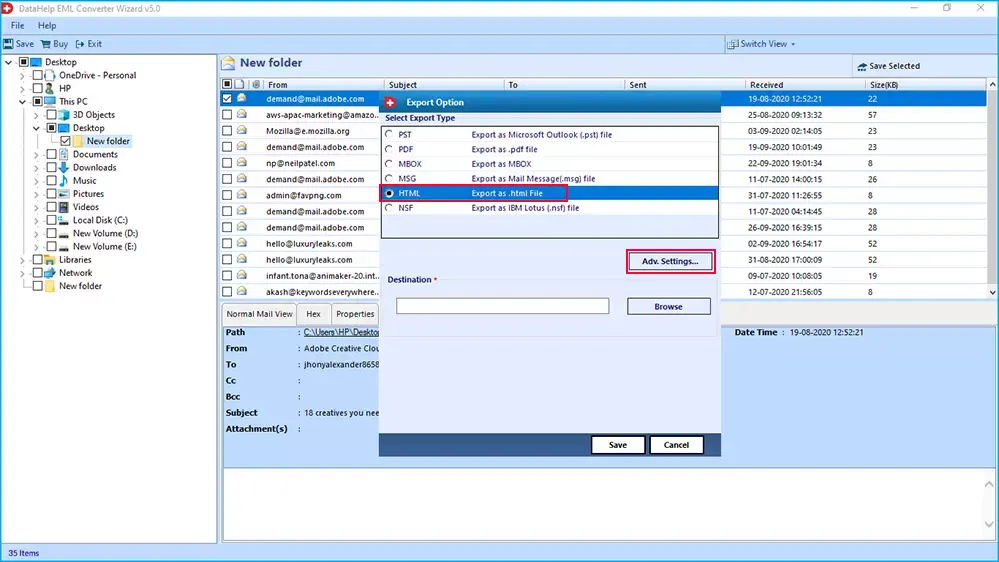
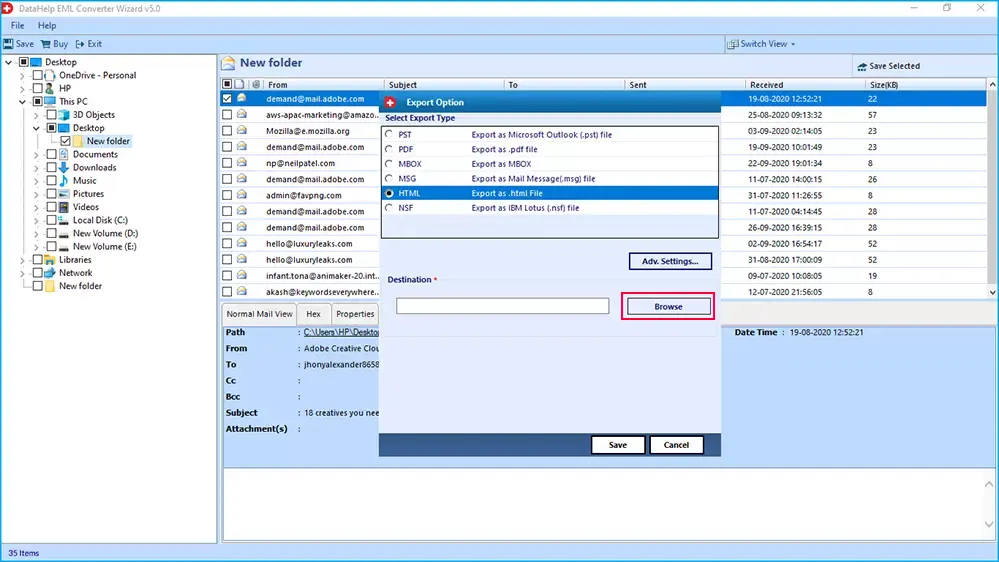
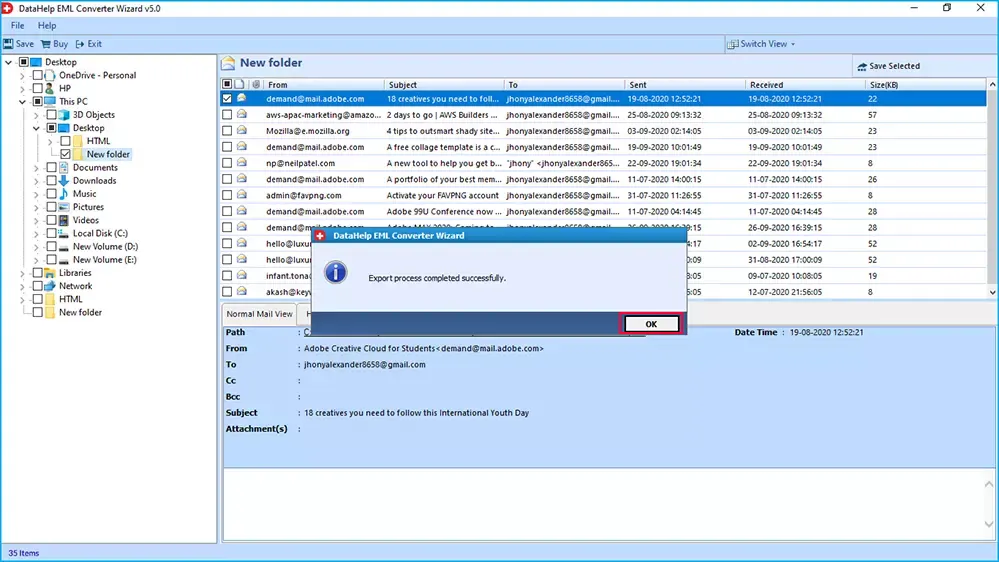
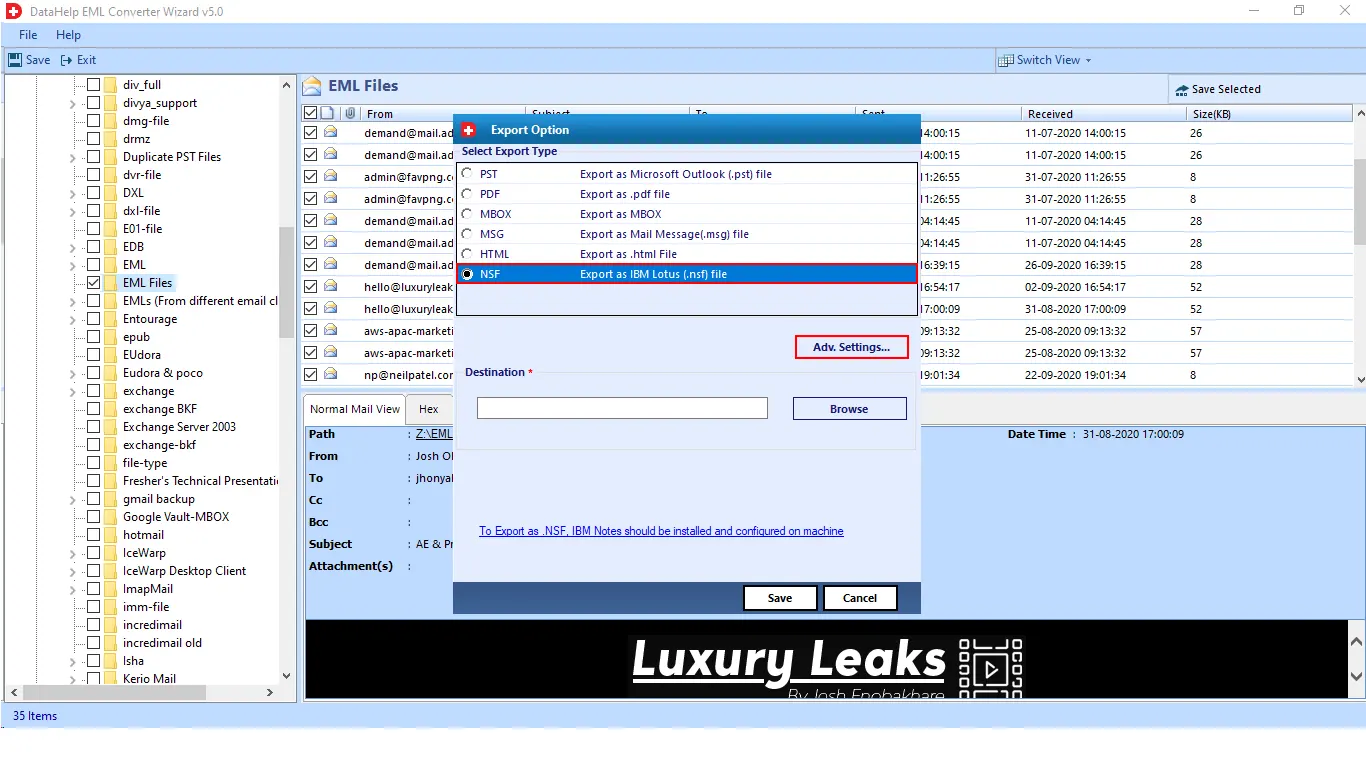
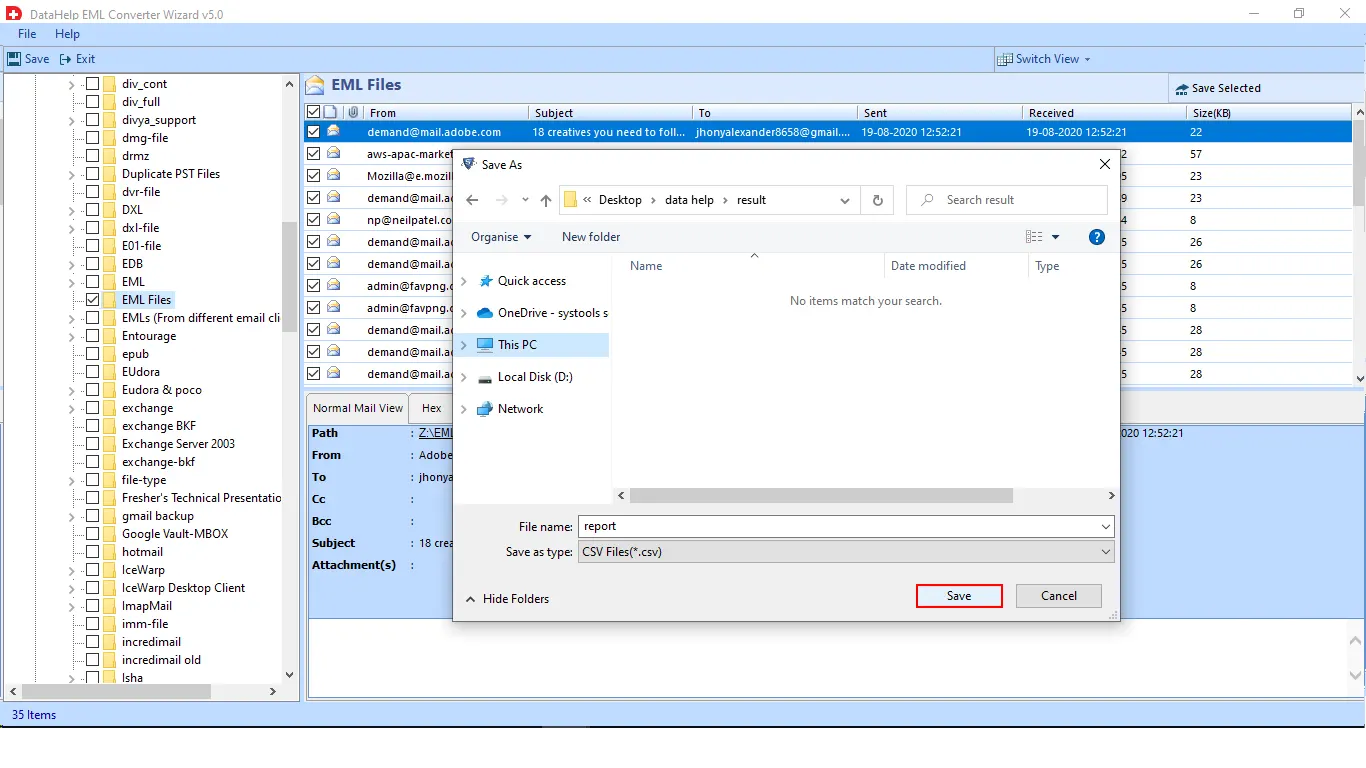
Now after viewing complete details, you can convert either selected or complete EML and EMLX files to MBOX format.

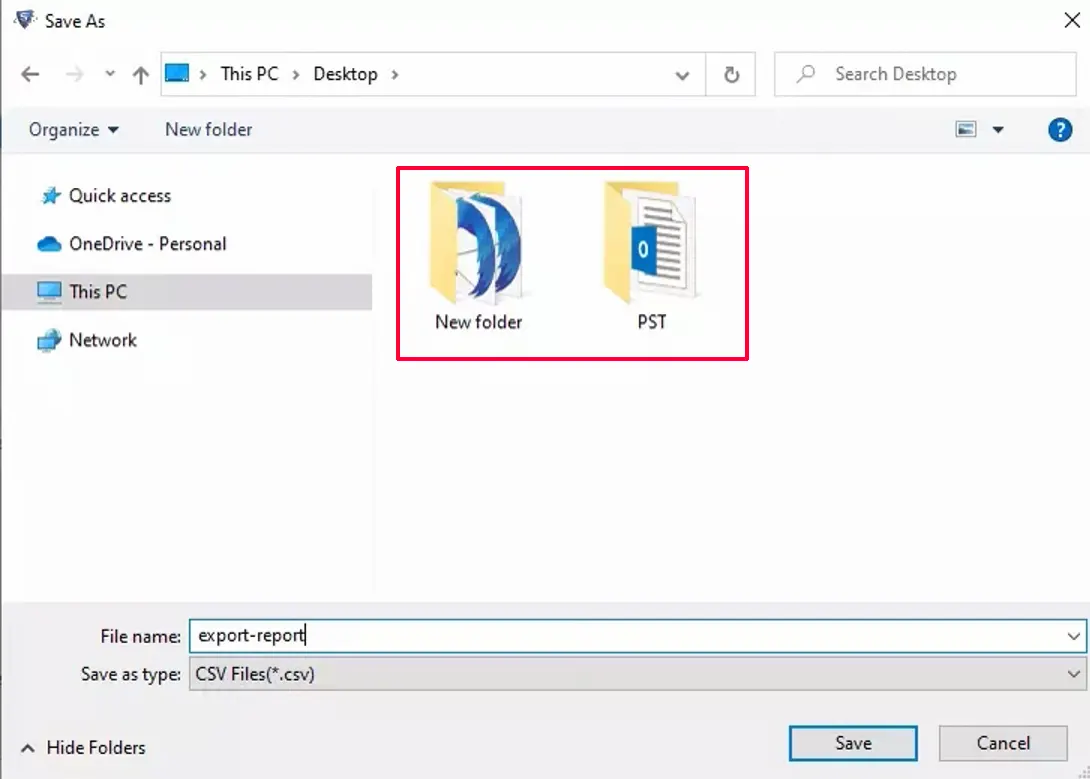
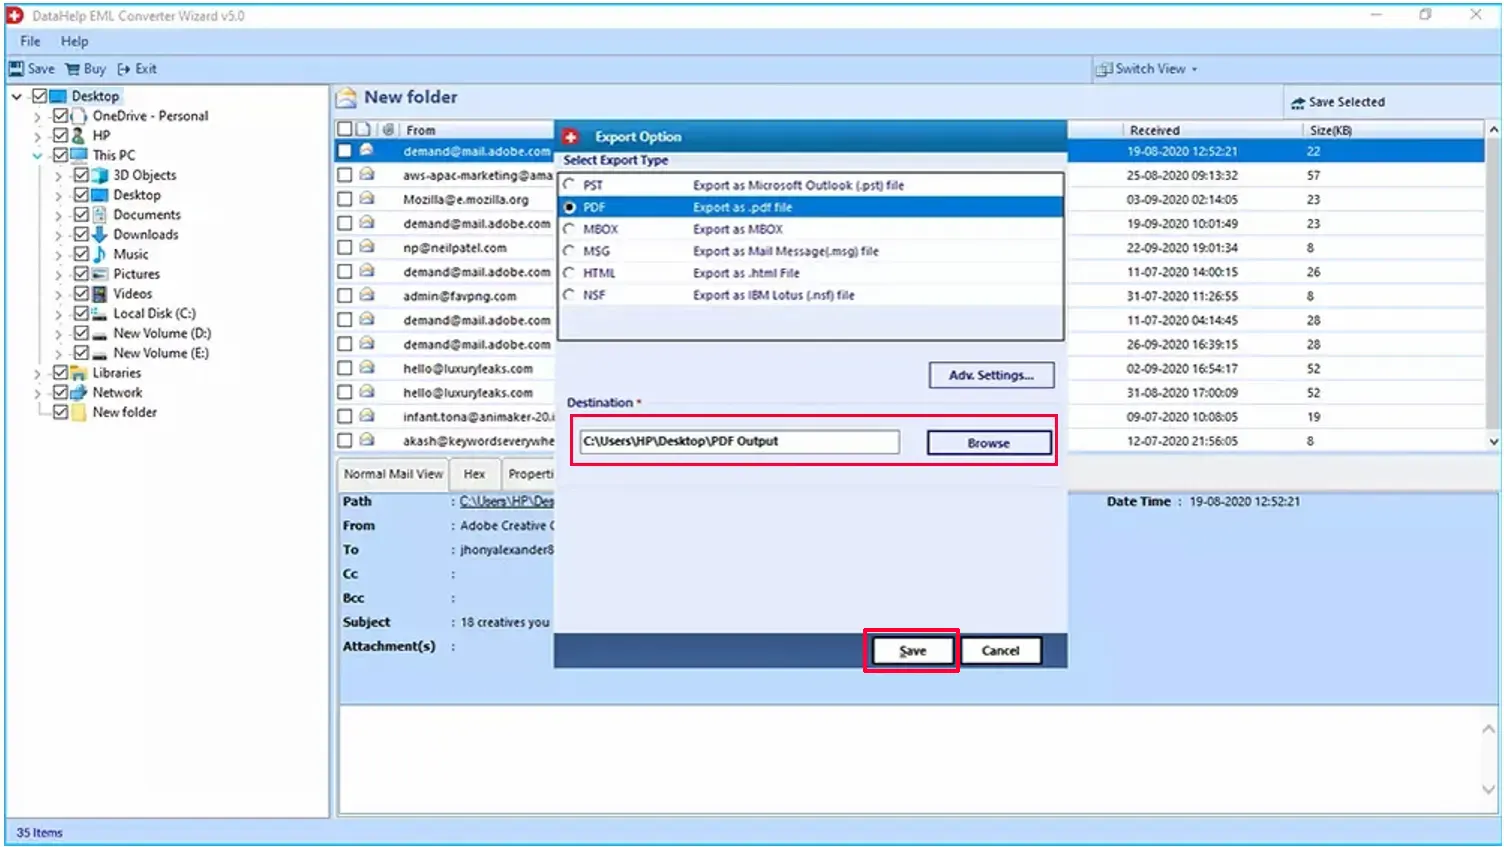
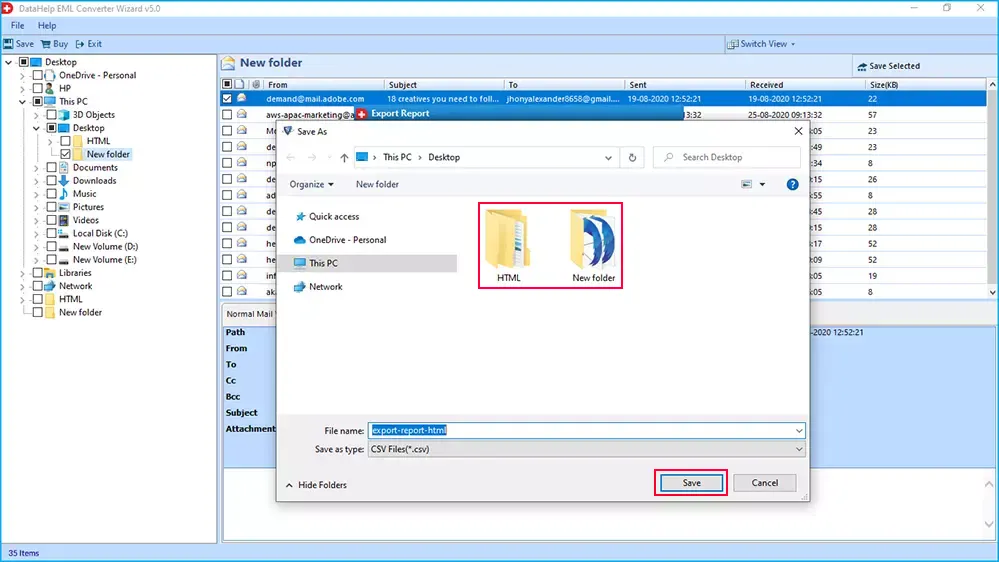
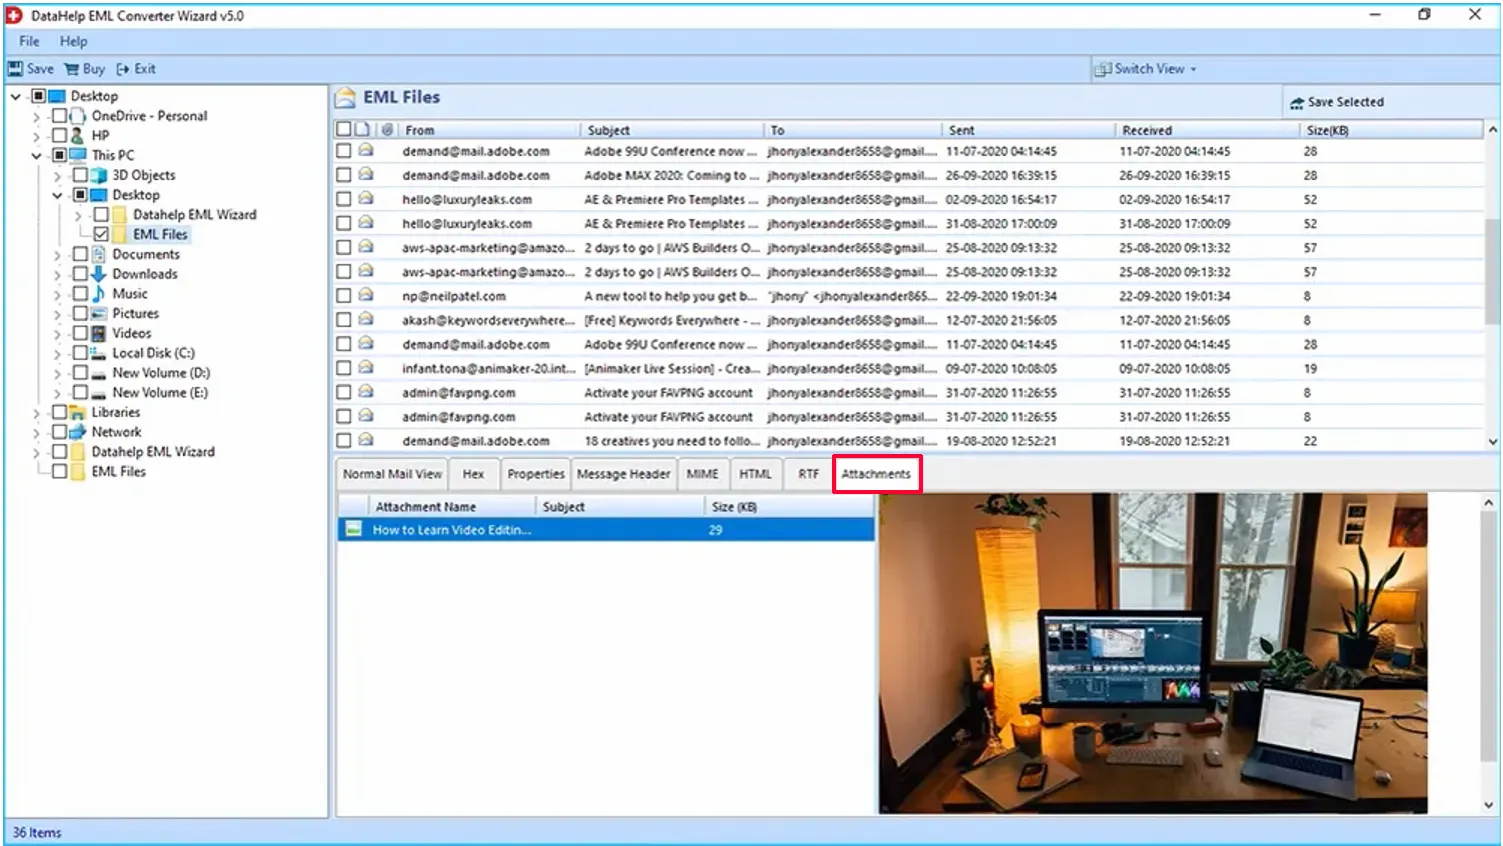
For Selected Email conversion: check the check-boxes and click on Save Selected button as highlighted. Also, you can right click on selected emails and then click on Export button.

location-of-saved-csv-report
STEP 15

For Bulk Email Conversion: Select the folders which contains all EML and EMLX files from left panel and click on the Save button from menu bar. For multiple folder selection, check the check-box beside the folder.

location-of-saved-report


STEP 1

Click radio button corresponding to PST to convert EML files into PST file format and after that click on Advance Setting.

eml6
STEP 2

You can specify the following filters such as:

Split PST File: This allows the user to Split the resultant PST file according to specified size.

eml7

Date Filter Option: This allows the user to migrate specific data from the EML files. After that click on Save button.

eml7

Provide "To to From" Date Range and then click on Save button.

eml7

After that, software will show you Setting Saved Successfully message.

eml7
STEP 3

Click on Browse button to provide the location to save the resultant file.

eml8


STEP 4

Now click on New Folder button as highlighted to save exported data into new folder. You can also select existing folder. After that click on OK button.

eml11


STEP 5

If you want to create separate PST file for each folder. Then check the Create PST for Each Folder checkbox. after that click on Save button.

eml14
STEP 6

Now the software will start the export process, you can view the export process details. Wait till it completes to 100%.

eml15


STEP 7

After completing the export process, the software will show you a successful message in new pop up window. Click on OK button.

eml15


STEP 8

Here the software will show you export process report. Provide the location to save the export report and click on Save button to save the export report.

eml15


STEP 9

The final exported PST files can be viewed at their specific location as follows:

eml15


STEP 10

Launch the Outlook and import the PST file and open in it.

eml15


STEP 1

Click radio button corresponding to MBOX to convert EMLX and EML files into MBOX file format and after that click on Advance Setting.

eml6
STEP 2

You can specify the following filters such as:

Date Filter Option: This allows the user to migrate specific data from the EML files. After that click on Save button.

eml6

Advance Settings saved successfully, click on OK button.

eml6
STEP 3

Click on Browse button and provide the location to save the resultant file.

eml8


STEP 4

Now click on New Folder button as highlighted to save exported data into new folder. You can also select existing folder. After that click on OK button.

eml11


STEP 5

Now click on Save button to start the conversion process.

eml14
STEP 6

Now the software will start the export process, you can view the export process details. Wait till it completes to 100%.

eml15


STEP 7

After completing the export process, the software will show you a successful message in new pop up window. Click on OK button.

eml15


STEP 8

Here the software will show you export process report. Provide the location to save the export report and click on Save button to save the export report in .csv format

eml15


STEP 9

The final exported MBOX files can be viewed at their specific location as follows:

eml15


STEP 1

Now, Select PDF radio button to export EML/EMLX files into PDF file format. After that click on Advance Setting button.

eml6
STEP 2

You can specify the following filters such as Normal Setting, Page Layout, Bates Number:

Naming Convention: This refers to the naming of the final converted files such as by Subject+Date, From+Subject+Date, Autoincrement, etc.

You can also check the Include Internet Message Header checkbox

eml7

Date Filter Option:: This is the filter that can be used to filter out the final files as per the date filter.

eml7

Provide From to To date and also you can check the Include Internet Message Header checkbox.

eml7
STEP 3

Apply setting for Page Layout.

Apply Margin: The software provides advance option to apply page margin. Which can be applied in range of Minimum 2.0 mm and Maximum 10.0 mm

Apply Page Layout: Use this option to use Paper Orientation and Page Size.

eml8


STEP 4

Apply Bates Number to your page while exporting to PDF format.

Bates Number Format: You can apply page number and other formatting like, Start Number, Increment By, and Position.

Date Stamp: You can also apply date stamp and choose preferred position. After that click on Save button.

eml11


Advanced Setting saved successfully message will appear, simply click on OK button.

eml11


STEP 5

Click on Browse button to provide the location to save the resultant file.

eml14
STEP 6

Now click on New Folder button as highlighted to save exported data into new folder. You can also select existing folder. After that click on OK button.

eml15


STEP 7

Now click on Save button to start the conversion process.

eml15


STEP 8

Now the software will start the export process, you can view the export process details. Wait till it completes to 100%.

eml15


STEP 9

After completing the export process, the software will show you a successful message in new pop up window. Click on OK button.

eml15


STEP 10

Go to the location provide at Step 6 and view complete data.

eml15


STEP 11

The final exported PDF files can be viewed at their specific location as follows:

eml15


STEP 1

Click radio button corresponding to MSG to convert EML/EMLX files into MSG file format and after that click on Advance Setting.

eml6
STEP 2

You can specify the following filters such as and after that click on Save button.

Naming Convention: This refers to the naming of the final converted files such as by Subject+Date, From+Subject+Date, Autoincrement, etc.

eml6

Date Filter: This is the filter that can be used to filter out the final files as per the date filter.

eml7

Setting Saved Successfully prompt will appear, simply click on OK button.

eml7
STEP 3

Click on Browse button to provide the location to save the resultant file.

eml8


STEP 4

Now click on New Folder button as highlighted to save exported data into new folder. You can also select existing folder. After that click on OK button.

eml11


STEP 5

Now click on Save button to start conversion process.

eml14
STEP 6

Now the software will start the export process, you can view the export process details. Wait till it completes to 100%.

eml15


STEP 7

Now a pop will appear with Successfully Exported message. Here click on OK button.

eml15


STEP 8

Here the software will show you export process report. Provide the location to save the export report and click on Save button to save the export report in .csv format

eml15


STEP 9

Navigate to the location and view exported data.

eml15


Open the MSG file in supported application.

eml15


STEP 1

Click radio button corresponding to HTML to convert EML/EMLX files into HTML file format and after that click on Advance Setting.

eml6
STEP 2

You can specify the following filters such as:

Naming Convention: This refers to the naming of the final converted files such as by Subject+Date, From+Subject+Date, Autoincrement, etc.

eml7

Date Filter: This is the filter that can be used to filter out the final files as per the date filter.

eml7

Settings Saved Successfully prompt will appear, click on OK button.

eml7
STEP 3

Click on Browse button to provide the location to save the resultant file.

eml8


STEP 4

Now click on New Folder button as highlighted to save exported data into new folder. You can also select existing folder. After that click on OK button.

eml11


STEP 5

Click on Save button to start the conversion process.

eml14
STEP 6

Now a pop will appear with Successfully Exported message. Here click on OK button.

eml15


STEP 7

Provide path to save export report and click on Save button.

eml15


STEP 8

Navigate to the location and view exported data.

eml15


Open perticular file and view data.

eml15


STEP 1

Click radio button corresponding to NSF to convert EML/EMLX files into NSF file format and after that click on Advance Setting.

eml6
STEP 2

You can specify the following filters:

Date filter: This is the filter that can be used to filter out the final files as per the date filter. After that click on Save button.

eml7

Settings saved successfully, a pop up window will appear. Simply click on OK button.

eml7
STEP 3

Click on Browse button to provide the location to save the resultant file.

eml8


STEP 4

Now click on New Folder button as highlighted to save exported data into new folder. You can also select existing folder. After that click on OK button.

eml11


STEP 5

Now click on Export button to start conversion process.

eml14
STEP 6

Now the software will start the export process, you can view the export process details. Wait till it completes to 100%.

eml15


STEP 7

Now a pop will appear with Successfully Exported message. Here click on OK button.

eml15


STEP 8

Here the software will show you export process report. Provide the location to save the export report and click on Save button to save the export report in .csv format

eml15


A pop window will appear with successful export report saved message, simply click on OK button.

eml15


STEP 9

Go to your Lotus Notes and View all data

eml15


Download EML Converter Download Now