Backupify Export to PST – Import Backupify Mailbox into Outlook


Regardless of the online service, if you want to access the backed up mailbox file of Backupify in Outlook, then exporting Backupify to PST becomes a necessity. In this blog, you will learn how to process and import the Backupify mailboxes into Outlook within a few minutes.
Backupify is a leading backup and disaster recovery SaaS application for G Suite and Office 365. There are over 2 million business customers who use Backupify as an archiving, search and restore solution for online services. When Backupify is used to archive the mailbox data, it creates a compressed ZIP file. This ZIP file contains multiple MBOX files that store the mailbox data of different accounts in the online service.
Sometimes, a user wishes to import such a file in Outlook but due to lack of methods on the internet, he/she is unable to do so. This article is going to resolve such issue.
Does Backupify Provide Method to Export to PST?
Here is an extract taken from the article of the official Knowledge Base of Backupify developers:

While the MBOX files created by Backupify application are easily accessible in Thunderbird and Apple mail, MS Outlook does not support it. Due to this, even the developers tell users to opt for third-party converter to convert Backupify to PST file.
SO, it is clear that no native option is provided in either Backupify or Outlook regarding this matter. Hence, one must opt for a professional tool.
Tool to Export Backupify to PST for Outlook Users
There are a variety of tools available in the online market, but not all can perform as well as DataHelp MBOX to PST Converter. It is one of the simplest and fastest application to convert mailboxes of Backupify to Outlook PST files. These PST files are of Unicode type, making them accessible in Outlook 2019, 2016, 2013, 2010, 2007 & 2003. Download and test the free demo version of the application here:

This tool comes with a boatload of features and a simplified interface for efficient conversion:
- Drag and drop the MBOX file on the tool interface to import them.
- Either import single file or multiple files at once with folder selection.
- No need for Outlook installation to export Backupify to PST file.
- Prevents data loss and provides a fast yet safe conversion.
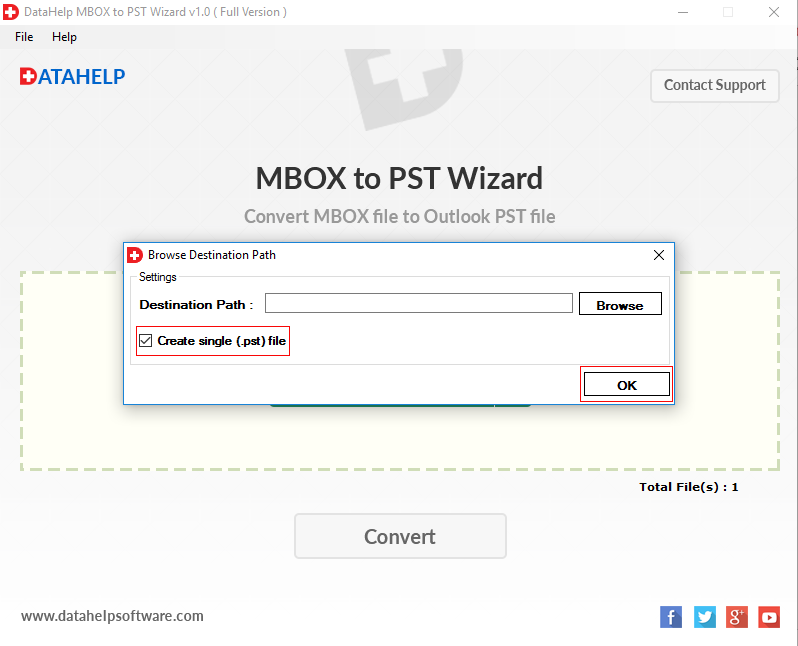
- Create a single PST file by merging all the Backupify mailboxes (optional).
- Generates PST file supported by Outlook 2019, 2016, 2013 and earlier version
- Works with all Windows versions including the latest Windows 10.
Step by Step Instructions for Backupify to PST Conversion
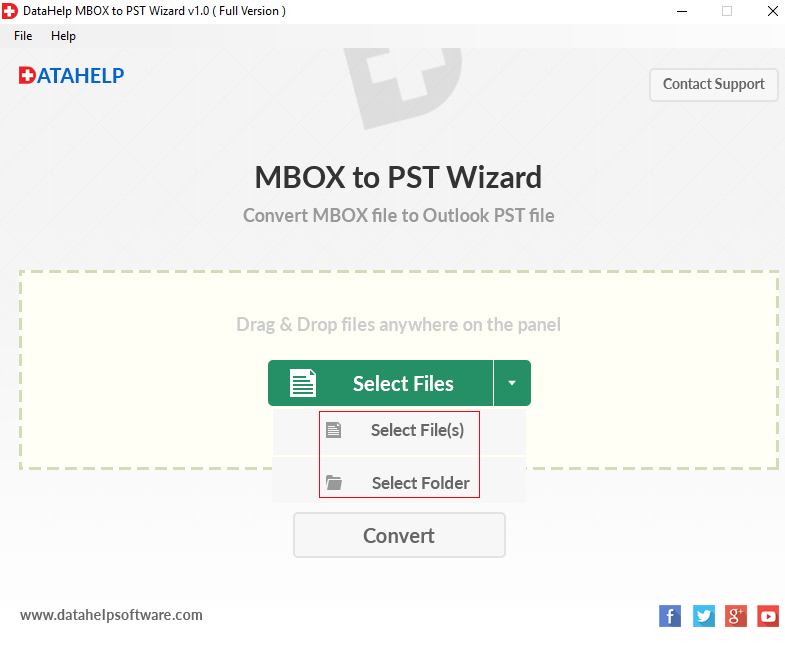
- Run the conversion application on your Windows system.
- Click on Select Files and use the appropriate option.
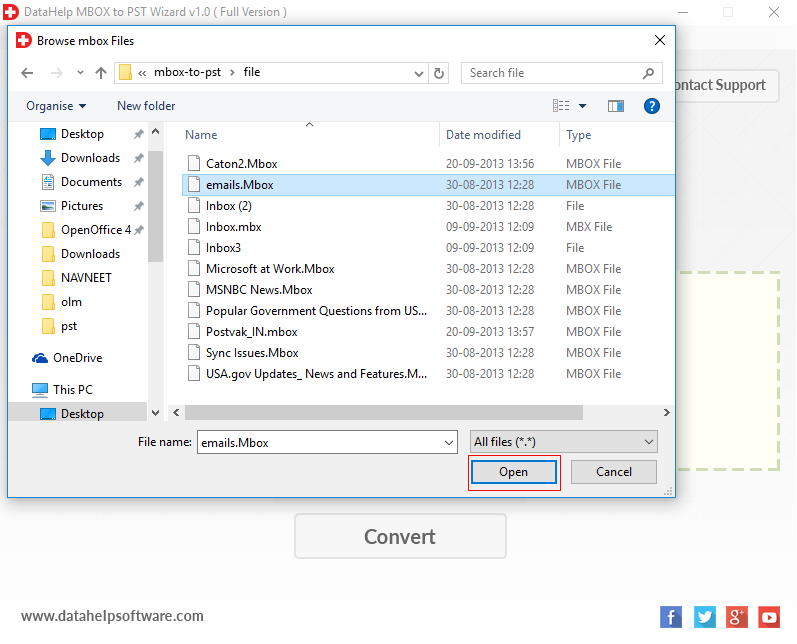
- Select the Backupify mailbox file or select a folder containing multiple Backupify mailbox files as per the previously chosen option.
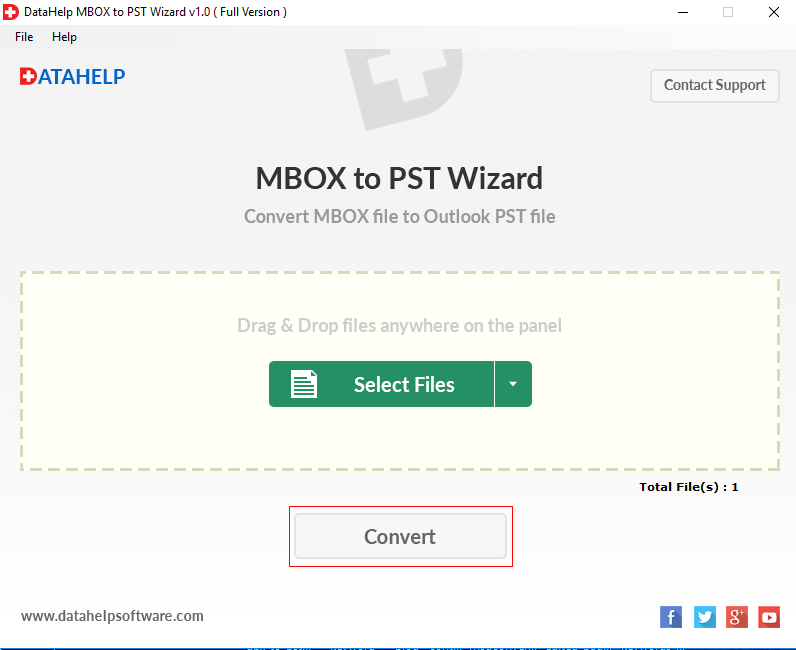
- Once the file is added, click Convert button.
- Now, select the location to save the files after conversion on your system and click Ok.
- The process will start and upon successful completion, it will display a confirmation window. Click Ok.
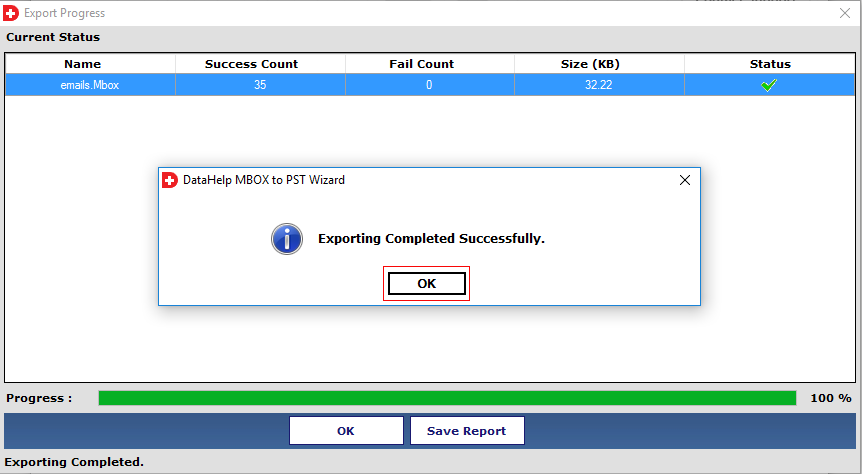
That’s it. All the Backupify mailbox files are successfully converted into PST files.
Note: Once the files of Backupify are exported into PST, a user can import PST file in Outlook regardless of the Outlook version.
Why Do We Care?
Backupify generates MBOX files by archiving the mailboxes of online services such as G Suite and O365. While it is a general file format supported by over 20 email clients, this file is not supported by MS Outlook. One must export Backupify to PST in order to import its mailboxes in Outlook. This can be achieved by going through the instructions given in this blog.