Here’s How to Backup Office 365 Email Mailbox Painlessly


Microsoft Office 365 does not need any introduction as it became the most used online business productivity suite across the globe. And taking its subscription plan is smooth as butter and you only have to pay for what you use. However, downloading or taking backup Office 365 email mailbox, Contacts, and Calendars becomes is a cumbersome job. Because Microsoft itself states that – they are not liable for any Office 365 email data loss in the catastrophic situations in its agreement.
Table of Content
1. Simple Steps to Backup Office 365 Email Mailbox to Local System
2. Approach #2: Backup Office 365 Email Mailbox Data Via. eDiscovery Export Tool

So, the people who have the questions like-
- Does Office 365 Backup Email?
- Does Office 365 needs to be backed up?
- How do I export my Office 365 mailbox mails?
- How to Download Office 365 Mailbox?
- How do I access my Office 365 emails locally?
- Can I backup Office 365 mailbox?
The answer is Yes! it is important to backup Office 365 emails and other data on the local platform to prevent the data loss situation. However, as we see above, Microsoft has no dedicated solution for backing up Office 365 emails and other data. Therefore, either user can use the automated O365 mailbox backup software or try a complex indirect eDiscovery Export Tool that exports content search into PST format on an on-premise location.
Here, we are going to provide solutions that let you know how to backup Office 365 email Mailbox locally in PST format without any fail. So, let’s get started!
How to Backup Office 365 Email Mailbox – The Ultimate Approach
As we said above, there is no utility available in O365 that was devised for taking backup of O365 on the local system. If you really have a serious concern about your Exchange data, then try Office 365 Account Backup Tool. It is a software solution based on cloud-to-local backup architecture. Also, it is devised to backup Office 365 emails, contacts, and calendars on the designated local location in the form of PST format.
Moreover, it is a comprehensive backup solution that secures your O365 email mailbox data. Plus, one can restore the downloaded copy into any subscription plan of Microsoft O365. It can smoothly backup Office 365 mailbox data of the following plans –
- Office 365 Enterprise E1
- Office 365 Enterprise E3
- Office 365 Enterprise E5
- Exchange Online Plan 1
- Exchange Online Plan 2
- Office 365 Business Premium
- Office 365 A1
- Office 365 A3
- Office 365 F1
- Office 365 Business Essentials
This software can be operated by a single O365 user or administrator. The admin can take backup of multiple accounts in a single attempt. However, a single O365 can take backup of its primary mailbox. All in all, it has unparalleled potential to backup mailbox items too. Because, due to Office 365 shared mailbox limitations, it becomes a requirement to take backup of it. The demo version of the software can be easily downloaded from this given link.
Simple Steps to Backup Office 365 Email Mailbox to Local System
Step: 1. Firstly you have to download, install and launch the above software and now, you have to choose the platforms, select Office 365 as the source platform and outlook as the destination platform and proceed with steps.
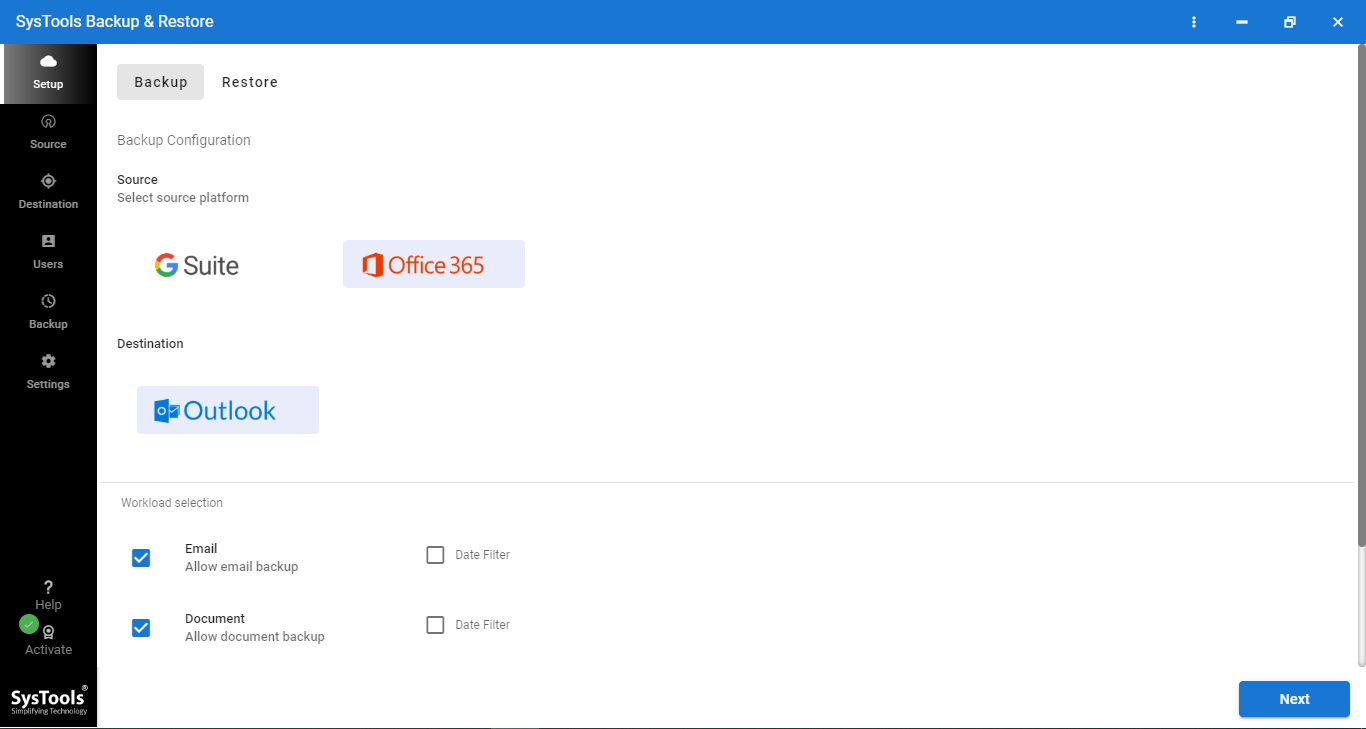
Step: 2. From the below-given items, you have to select the desired mailbox categories. You can also use the given date filter for selective data backup in Office 365. You just have to define the desired date range and the software will only backup those data.

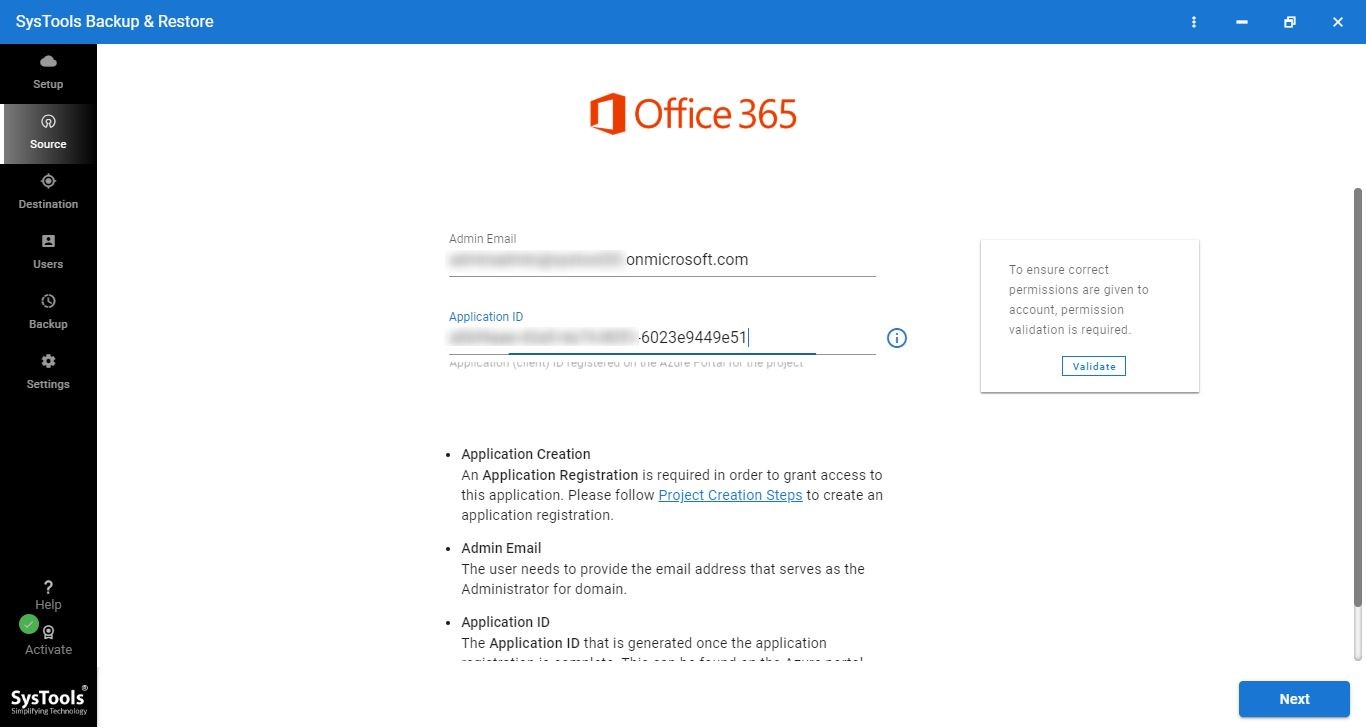
Step: 3. Now, you have to log in using the Admin ID and Application ID and you have to validate it by hitting the validate button.
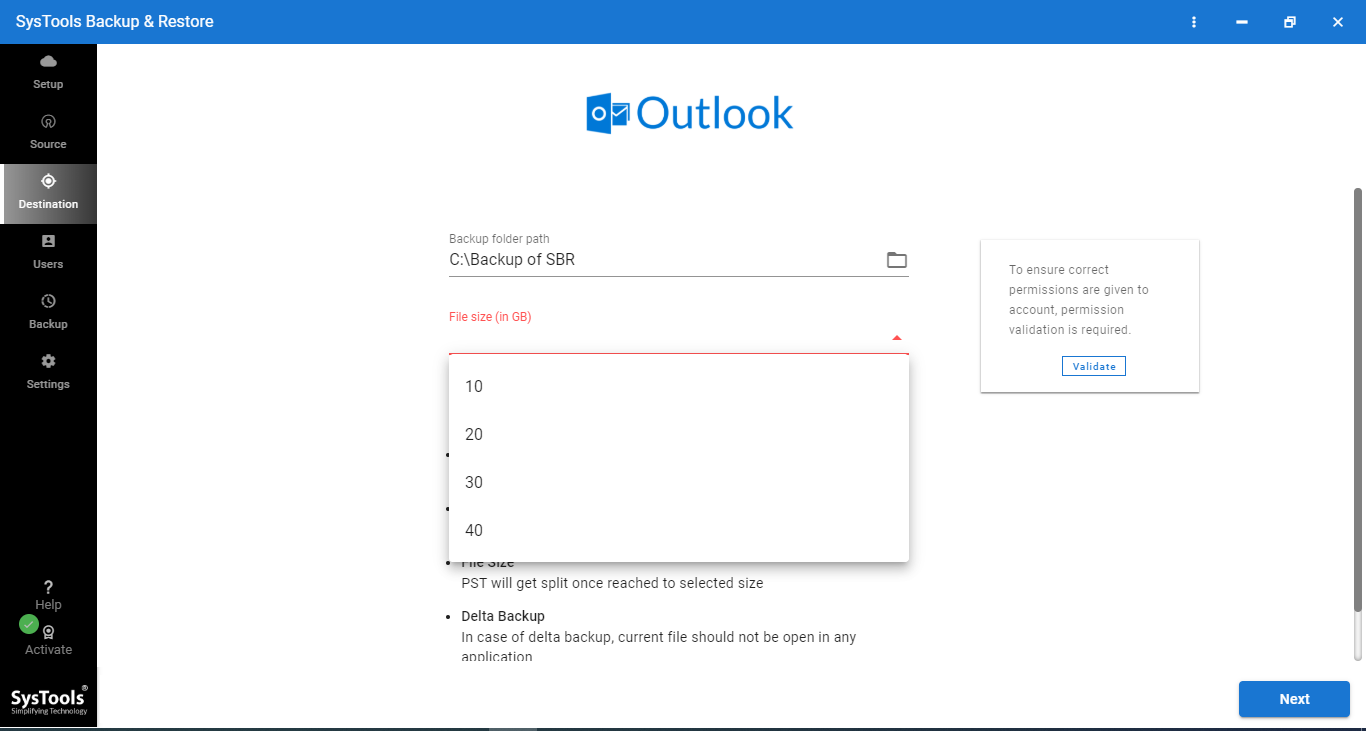
Step: 4. In this step, you have to browse and locate the destination path for the backed-up resultant PST file.
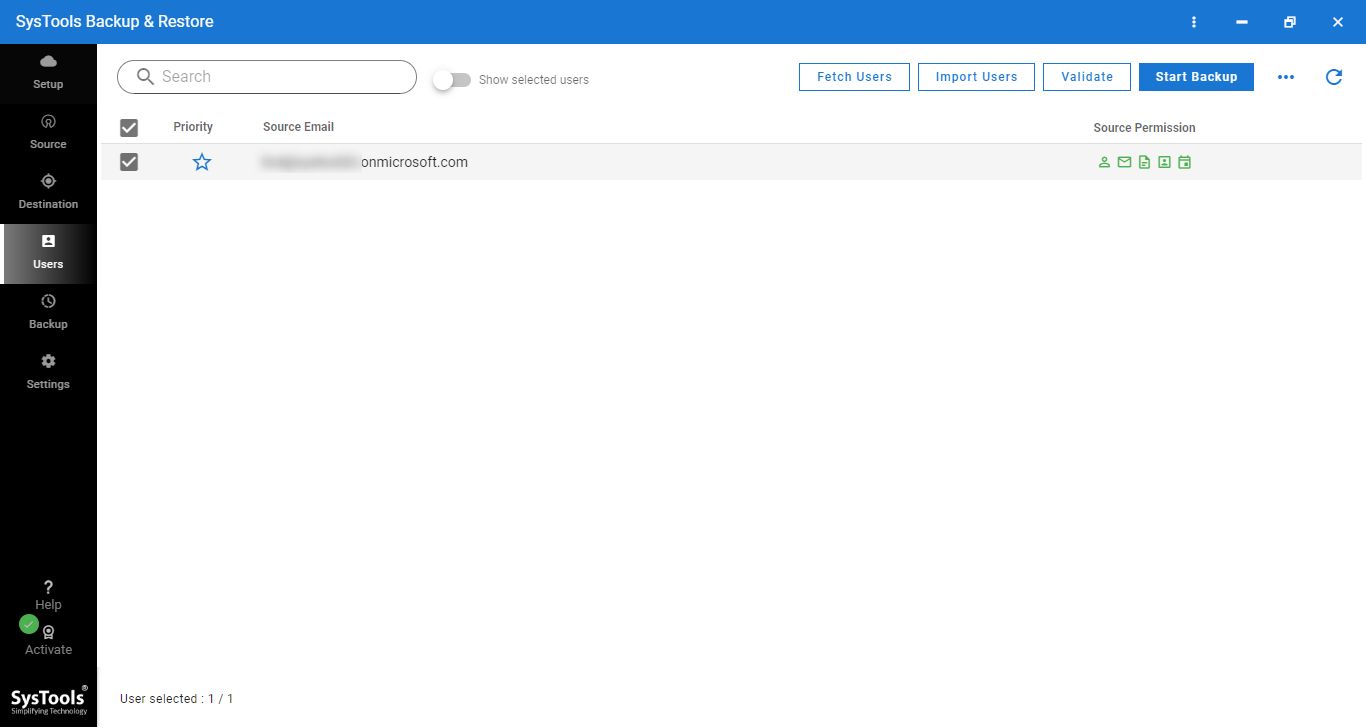
Step: 5. Here, you have to select the user mailbox that you want to be backed up, from the given list, and click on the Start backup button in order to backup Office 365 email mailbox painlessly.
Approach #2: Backup Office 365 Email Mailbox Data Via. eDiscovery Export Tool
eDiscovery is a method that used to search the data in the entire Office 365 account for a specific legal case. And, download the Office 365 content search export to PST Via. eDiscovery PST Export Tool. It is operated from Office 365 admin portal.
Before Using the Method Consider Following Things:
- There is a need for Windows OS 7 or above in order to use the eDiscovery Tool
- Mandatory to have Microsoft .Net framework or above.
- The latest Internet Explorer is required to download the utility
Phase #1: Assign eDiscovery Permission to Your Member(s)
Step 1. Open this link – ‘https://protection.office.com‘ on your browser.
Step 2. Login as Office 365 administrator to initiate Backup Office 365 email mailbox process.
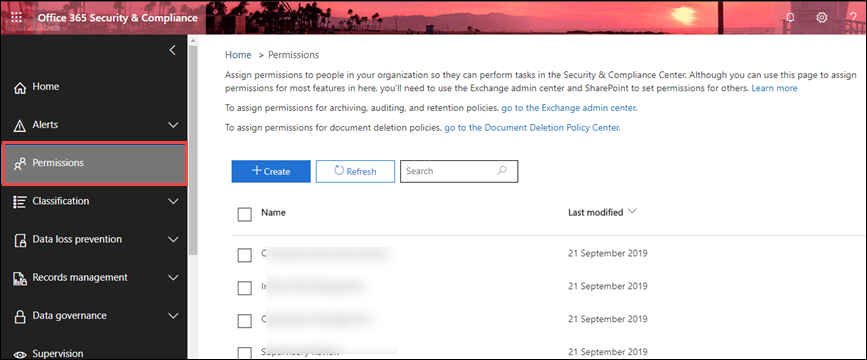
Step 3. Click on the Permissions section from the Office 365 Security & Compliance page.
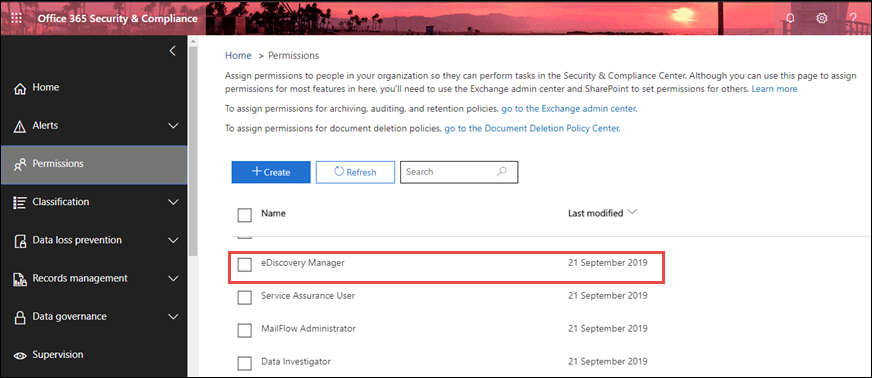
Step 4. Afterward, select the eDiscovery Manager as shown in the screenshot.
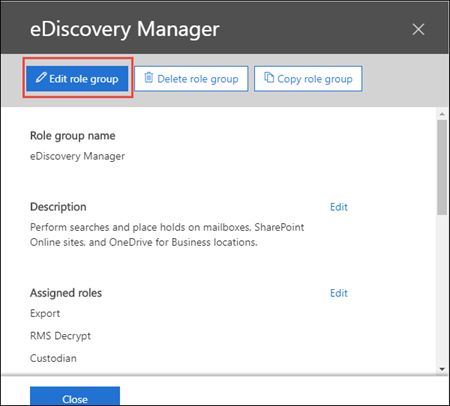
Step 5. Under the eDiscovery Manager, click on the Edit role group option.
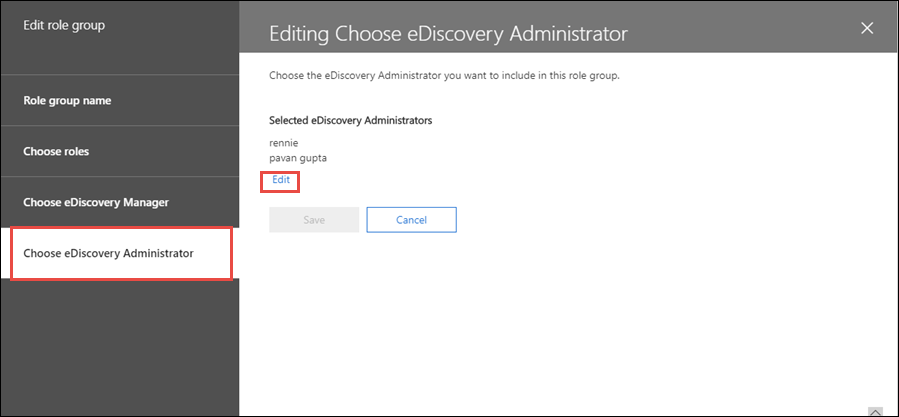
Step 6. Under the Edit role group window, go to Choose eDiscovery Administrator and click on Edit to add member.
Step 7. Under Choose eDiscovery Administrator, click on +Add.

Step 8. In the search bar, input the initials of the member name and select it by checking its adjacent checkbox.
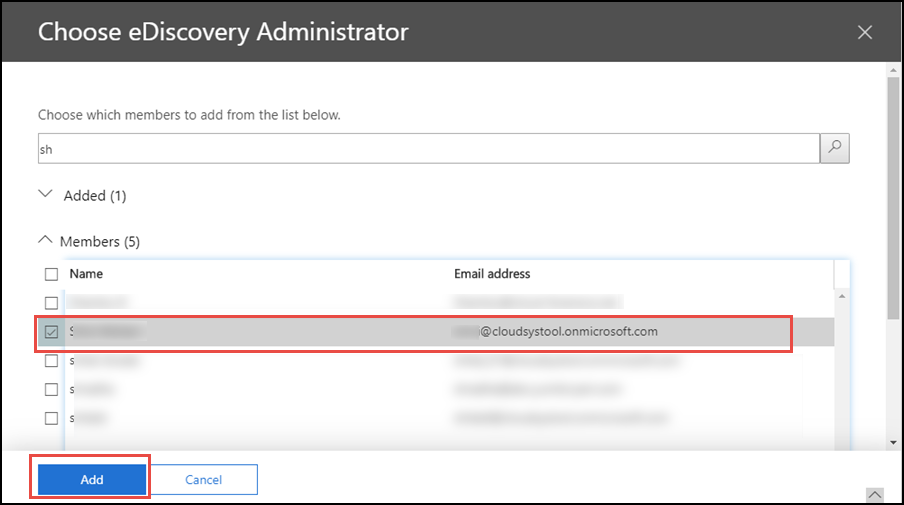
Step 9. Once you have added the member, click on Done to backup Office 365 email mailbox.

Phase #2: Time to Create eDiscovery New Case
In this section, we are going to create a new eDiscovery case. Because it is mandatory to be a member of the eDiscovery Managers role group to make desired eDiscovery cases. In fact, one can use the same case in Advanced eDiscovery if the organization has an E5 subscription plan for Microsoft Office 365. To do this, execute the below instructions.
Step 1. Sign in to Office 365 to continue the backup process.
Step 2. Click on the eDiscovery drop-down button and opt for eDiscovery.
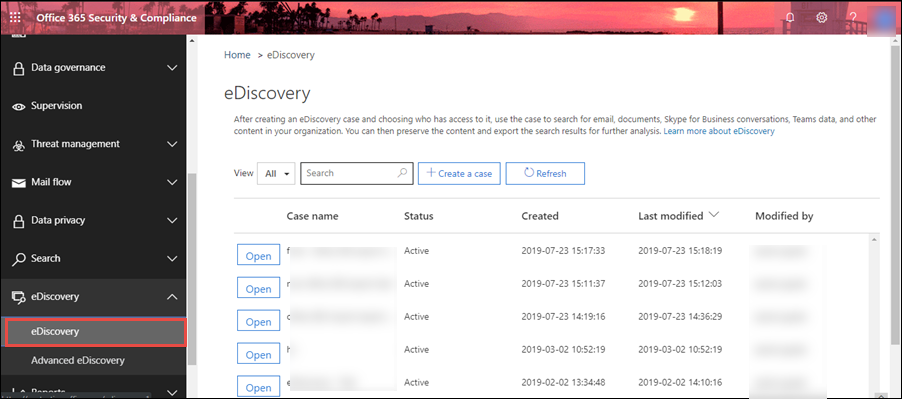
Step 3. Under the eDiscovery section, click on +Create a case.

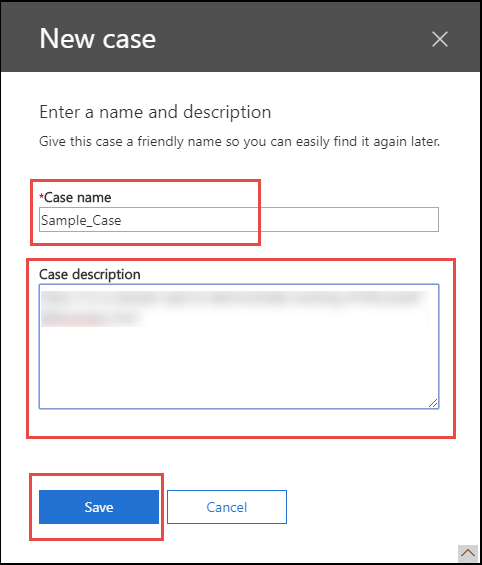
Step 4. Under New Case wizard, Input a Case Name such as we used Sample_Case here and Case description and hit the Save. Make sure that the Case name should be unique.
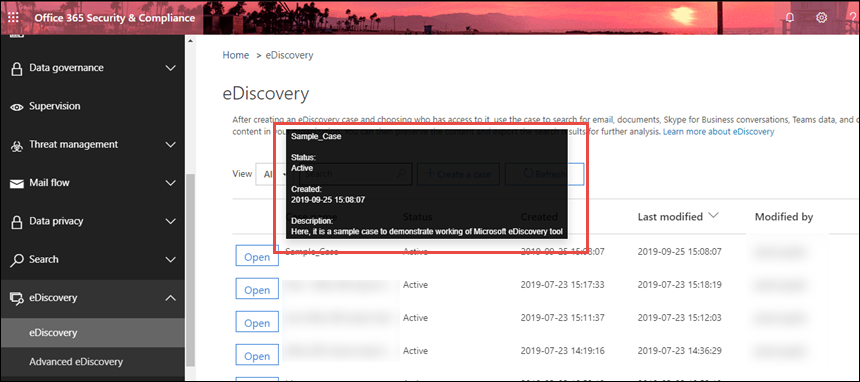
Step 5. The above case gets appeared in the list of cases. You can move your cursor to the Case Name to get the information about it. In fact, you can also rename the new case in order to backup Office 365 email mailbox.
Phase #3: Add Members to Manage Case
Once you have done with the creation of New Case, the next stage is to add members to it. Exclusively the members of Reviewer or eDiscovery Manager role groups can add as a member of the new case. And, the person who created the case is by default added as a member.
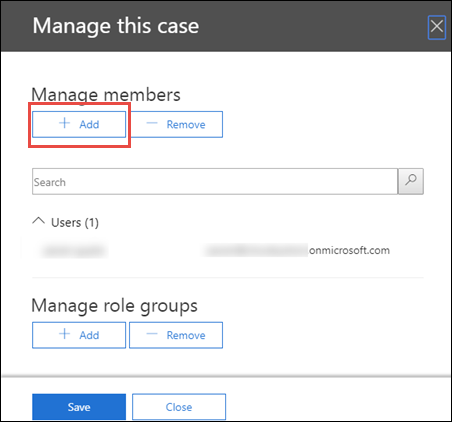
Step 1. Click on eDiscovery >> eDiscovery to view the Case Name list. Click on Sample_Case name to open the Manage this case window.

Step 2. Click on + Add to add new members to the case.
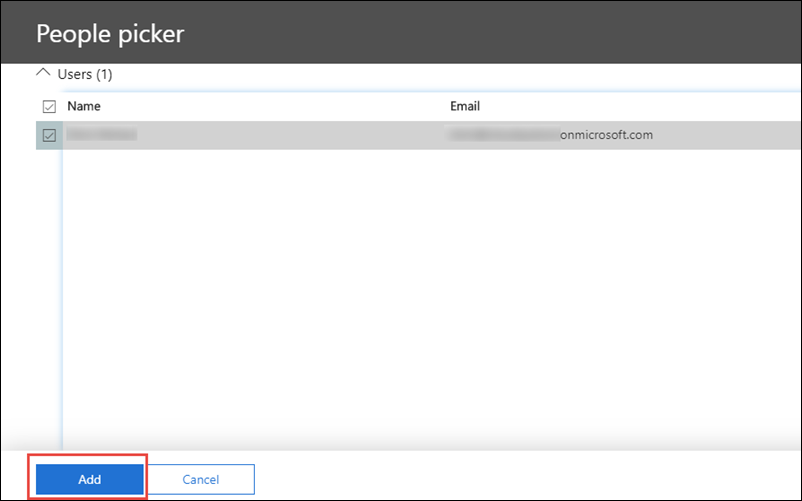
Step 3. Under the People picker window, add the member(s) & click on Add.
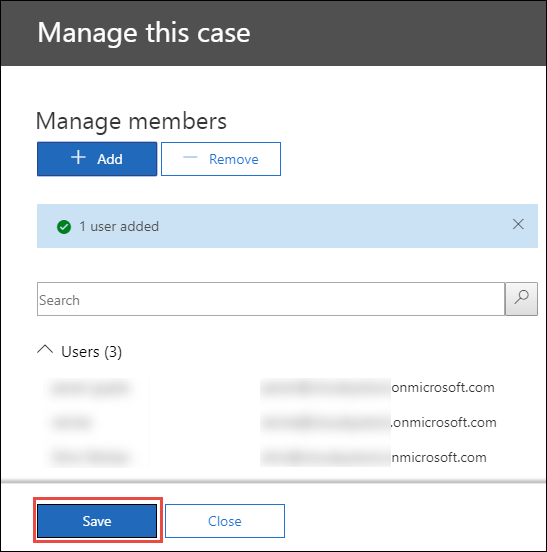
Step 4. Click on Save.
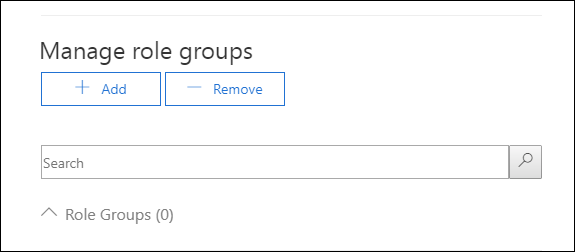
Step 5. You can also use Manage role groups to add role groups.
After successful execution of the above steps, the added member can do an eDiscovery search in Microsoft Office 365.
Phase #4: Time to Search & Hold Content Place On Hold
With the help of the eDiscovery case, the user can hold and preserve the content in Office 365. It is applied to hold the content of mailboxes, OneDrive for Business, SharePoint site, Microsoft Teams. Moreover, the user can create an infinite hold. It means all the content is placed on hold. Else, the user can specify a date range to hold the content.
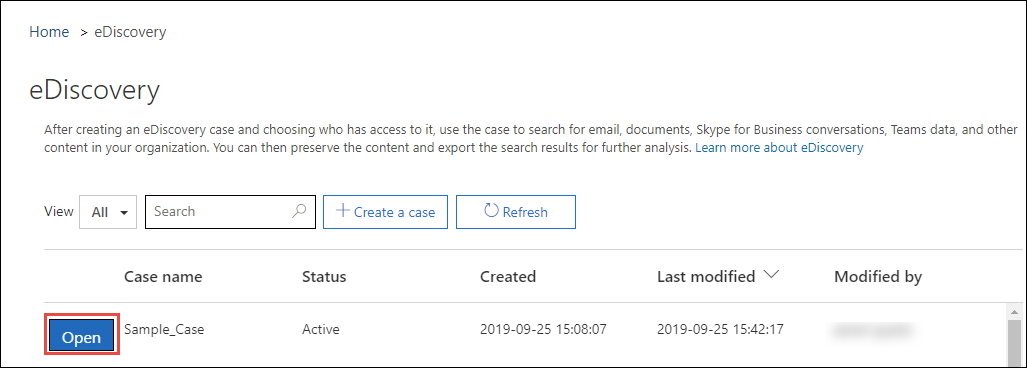
Step 1. Click on Open.
Step 2. It redirects to a new tab where you need to click on the Holds tab.

Step 3. Afterward, click on +Create as shown in the screenshot.

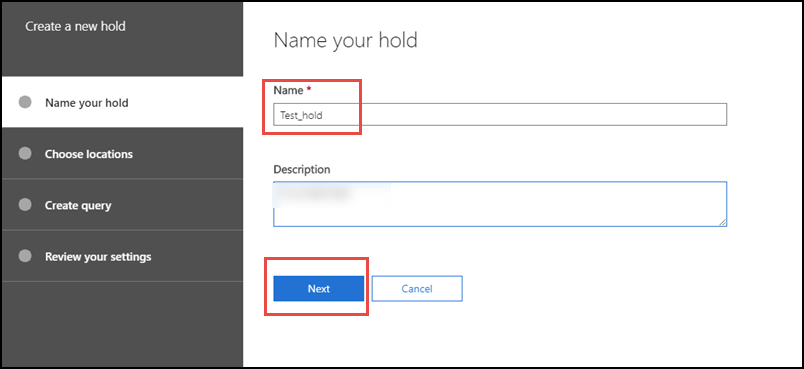
Step 4. Under Create a new hold wizard, provide a meaningful hold name such as; we are using Test_hold and add a Description. Then, click on Next in order to backup Office 365 mailbox data.
Step 5. Under Choose Locations where you put the content on hold. At last, click on Next in order to backup Office 365 email mailbox..

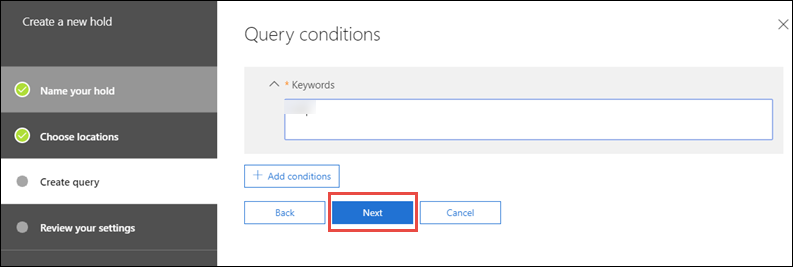
Step 6. Enter keywords for hold under the Query conditions section.
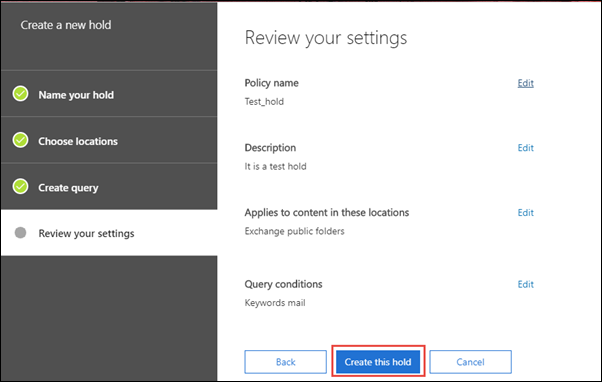
Step 7. At last, view all your settings under the Review your settings section and click on Create this hold.
Phase #5: Run Content Search
At last, execute the content search. Moreover, these content searches only be performed by the case members who are members of the eDiscovery Manager role group.
Step 1. Click on Open >> Searches.
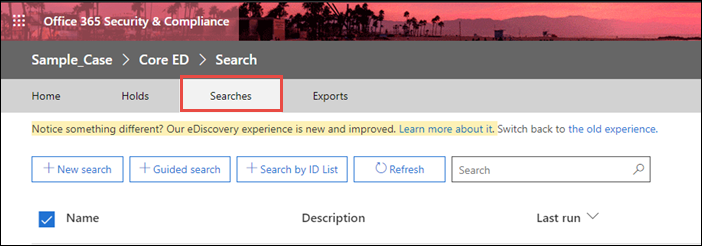
Step 2. Next, click on +New search.

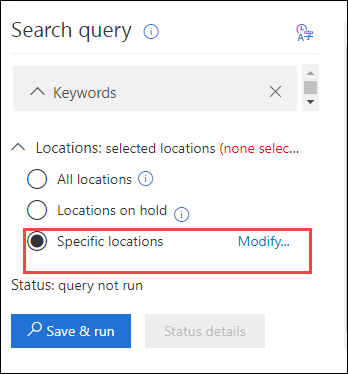
Step 3. Here, we are going to click on select Specific locations and click on Modify…
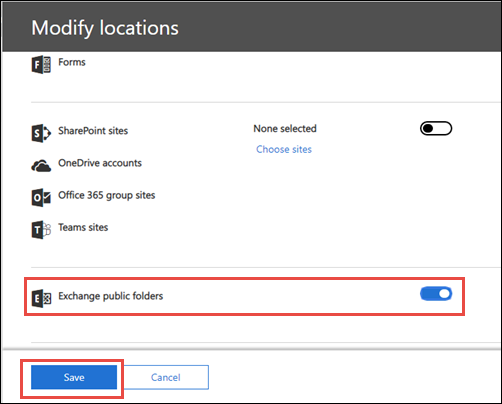
Step 4. Here, we select Exchange public folders and click on Save.
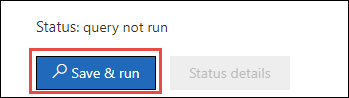
Step 5. Click on Save & run to proceed further.
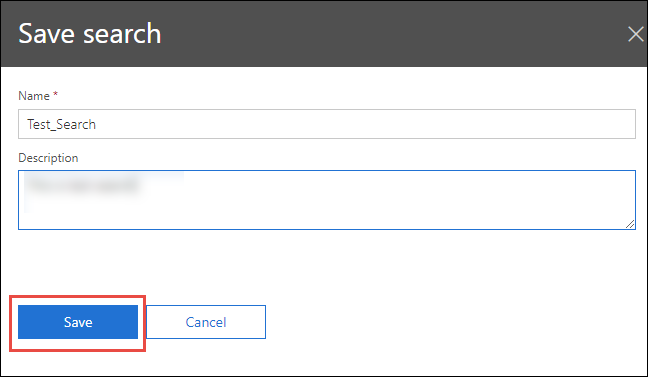
Step 6. Under the Save search section, enter a suitable name for the search and add a description. Then, click on Save.
Phase #6: Download eDiscovery Export Tool & Backup Office 365 Mailbox to PST
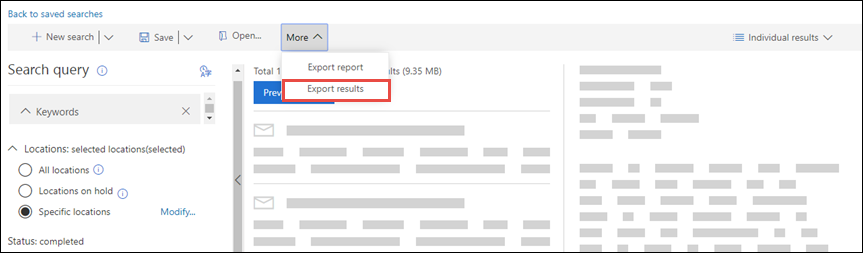
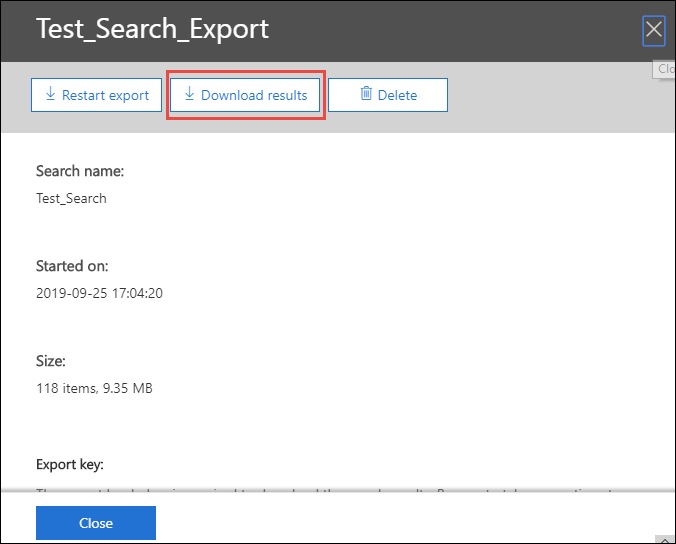
Step 1. Click on More >> Export results.
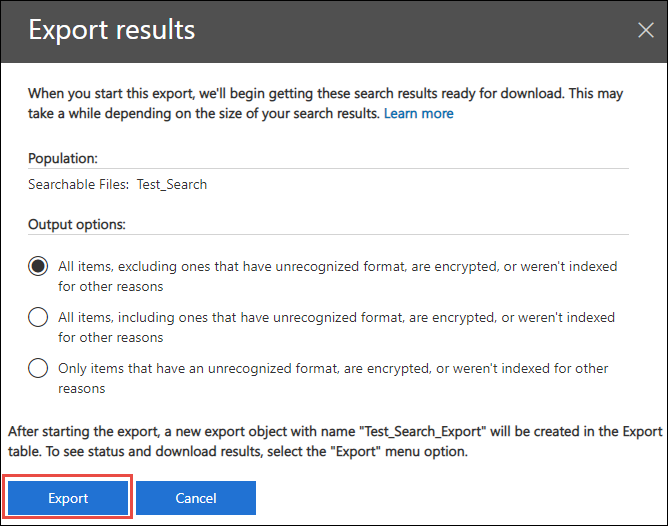
Step 2. Under the Export results window, click on Export in order to backup Office 365 mailbox.
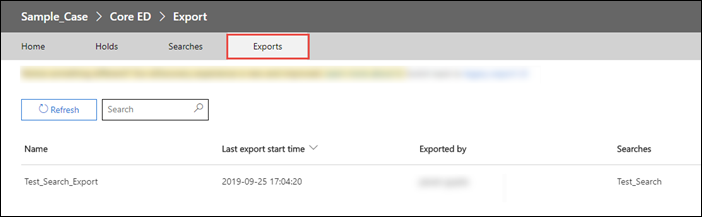
Step 3. Now click on the Exports tab to view the list.
Step 4. Click on Download results to set up eDiscovery PST Export Tool. From the same window copy the Export Key. It will be used later in the installation process.
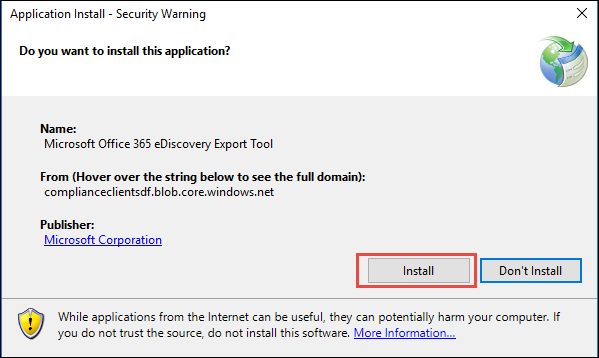
Step 5. Click on Install to start downloading the tool.
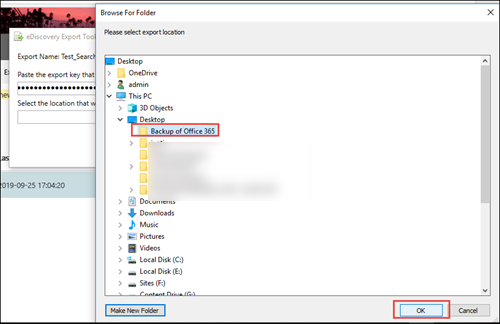
Step 6. Once it is downloaded, paste the key and select the location where you want to backup or save Office 365 mailbox to PST format.
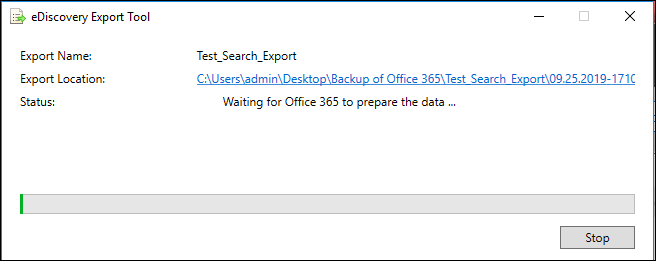
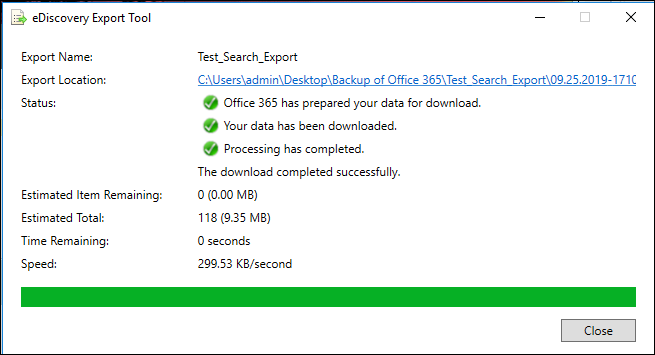
Step 7. Click on Start task to export the searched content into PST format.

Step 8. The tool starts downloading the data.
Step 9. Once the process gets completed, the following appeared on the screen.
Wrapping Up
As you see numerous stages need to be performed to backup Office 365 email mailbox, and sometimes eDiscovery PST Export Tool does not work under some circumstances. That is why it is always advised by many IT experts, to use an automated backup tool for the same. It totally depends upon the users which method they opt for. Also, we have discussed complete solutions for how to backup Office 365 mailbox ( emails, contacts, calendars, documents ) locally in this technical guide.
FAQs
Can we back up specific data from Office 365 through this software?
Yes, this tool provides various filters for specific data backup from Office 365 to locally.
Users can use a date filter for specific data backup according to a particular date range provided in workload selection.
Does this tool support multiple Office 365 account backups simultaneously?
Yes, this software is much capable of backing up multiple user accounts in a single shot. Users just need to select the user’s account associated with Office 365 admin account and then they can easily backup as any account they want.
Is there any data size limitation while backing up Office 365 data locally into PST file?
No, this software works irrespective of backup data size, users can backup Office 365 email mailboxes’ data as much data as they want.